MBaaS on Cloud Foundry: How to Deploy Helios

What MBaaS is?
Mobile-backend-as-a-service frameworks appeared to speed up app development by providing/automating such things as user and data management, billing, etc. Thanks to MBaaS, developers can finally concentrate on implementing the features they envisioned, instead of worrying about infrastructure. Dozens of solutions exist today. Paid ones generally offer more advanced features, but there are also some decent open-source options.
Helios MBaaS is one of them. It is an extensible open-source mobile backend framework that provides essential services. In fact, it is a Ruby Gem that can be used to build an independent Rack application. Helios can also be implemented with Sinatra or Ruby on Rails. Out-of-the-box features include synchronization, push notifications, in-app purchases, logging, analytics, etc. In addition, Helios is one of MBaaS frameworks—along with LoopBack—that can be deployed to PaaS systems, such as Cloud Foundry.
In this tutorial, we will walk you through the steps for deploying Helios with your application to Cloud Foundry.
Prerequisites
Helios uses PostgreSQL and its hash store. To operate normally, it needs the XCDATAMODEL file in the XML format (borrowed from the iOS SDK), where the business logic will be described.
To deploy Helios on Cloud Foundry, we will need to install and set up the following:
- PostgreSQL
- Helios
- Cloud Foundry Command Line Interface (CLI)
Before starting, you also need to check your Ruby version by typing the following lines into the terminal.
1 2 | ruby -v # ruby 1.9.3p484 (2013-11-22 revision 43786) [x86_64-linux] |
As you can see, we are using Ruby 1.9.3 (and newer versions should do just fine). We also prefer to use RVM and Gemsets.
1 2 3 4 | rvm gemset use 1.9.3-p484@cf_helios --create --default # Using 1.9.3-p484@cf_helios with gemset cf_helios # ruby-1.9.3-p484 - #gemset created /home/alexander/.rvm/gems/ruby-1.9.3-p484@cf_helios # ruby-1.9.3-p484 - #generating cf_helios wrappers |
Now, let’s begin.
Installing PostgreSQL
PostgreSQL is one of Helios’s external dependencies. Helios also uses the PostgreSQL hstore extension, so we are going to install it, as well. Besides that, since we are going to deploy our app to Cloud Foundry, we need to provide a PostgreSQL service. There are a couple of ways to do this. If your existing Cloud Foundry installation already has a PostgreSQL service (or a way to create one), you can just bind it to your app. However, we had no other way but to provide a service of our own.
Let’s start with local setup. The simplest way to do it on Ubuntu 12.04 LTS is with the command below.
1 | sudo apt-get install postgresql-9.1 posgresql-contrib-9.1 |
In addition, you are going to need a user and a proper database.
1 2 3 4 5 6 7 | psql postgres CREATE DATABASE cf_helios_db; CREATE USER cf_helios_user WITH PASSWORD 'cf_helios_password'; GRANT ALL PRIVILEGES ON DATABASE cf_helios_db TO cf_helios_user; \c cf_helios_db CREATE EXTENSION hstore; \q |
If you want to provide the PostgreSQL service from your computer, simply follow the instructions below. Otherwise, you will need to install PostgreSQL on a machine that can be accessed by your app from Cloud Foundry (in our case, it was a machine with a public IP).
Then, you need to proceed with additional steps required for PostgreSQL to receive remote connections. Add the following line to /etc/postgresql/9.1/main/postgresql.conf.
1 | listen_addresses = '*' |
Then, add the line below to /etc/postgresql/9.1/main/pg_hba.conf.
1 | host all all 0.0.0.0/0 md5 |
Note, that depending on the operating system, these files might be stored in a different location. In addition, do not forget about firewalls. By default, PostgreSQL uses port 5432.
Restart PostgreSQL for changes to take effect.
1 |
sudo service postgresql restart |
Installing Helios
Now, let’s install Helios.
1 2 3 4 5 6 7 | gem install helios # Fetching: highline-1.6.20.gem (100%) # Successfully installed highline-1.6.20... # ... # Installing ri documentation for venice-0.2.0 # Installing ri documentation for zurb-foundation-4.1.2 # 52 gems installed |
To create an application, use the following code.
1 2 3 4 5 6 7 | helios new cf_helios_app # create Procfile # create Gemfile # ... # Initialized empty Git repository in /home/alexander/cf_helios_app/.git/ # [master (root-commit) ad7e12a] Initial Commit # 6 files changes, 200 insertions(+) ... |
It will create the ch_helios_app folder in your current directory. You need to edit the cf_helios_app/.env file, so that it looks like shown below.
1 | DATABASE_URL=postgres://cf_helios_user:cf_helios_password@localhost/cf_helios_db |
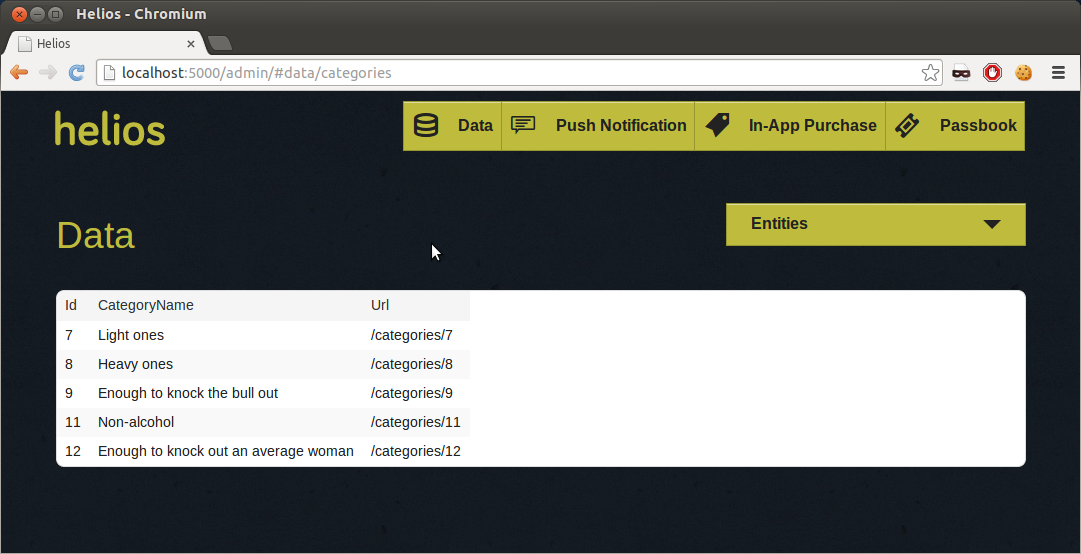
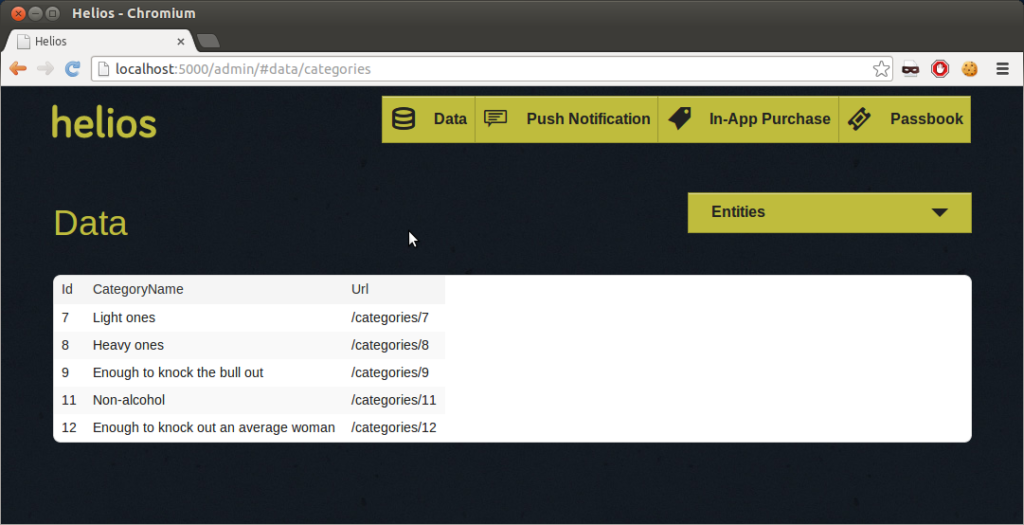
Now, you can use helios start to launch your app inside the cf_helios_app directory. We recommend that you open http://localhost:5000/admin/ in your browser to make sure it works properly.
Installing the Cloud Foundry CLI
Installing the Cloud Foundry console is as simple as it can be.
1 2 3 4 5 6 7 | gem install cf # Fetching: addressable-2.3.5.gem (100%) # Successfully installed addressable-2.3.5 # Fetching: multi_json-1.8.4.gem (100%)... # ... # Installing ri documentation for uuidtools-2.1.4 # 23 gems installed |
Now, we need to connect with our Cloud Foundry deployment. The console will ask you to select the organization and space. Just follow the steps below.
1 2 3 4 5 6 7 8 9 10 11 12 13 14 15 16 17 18 19 | cf target http://api.cloudfoundry.yourcfdomain.com # Setting target to http://api.cloudfoundry.yourcfdomain.com... OK cf login # target: http://api.cloudfoundry.yourcfdomain.com # Email> your_cf_login # Password> ******** # Authenticating... OK # 1: your_organization # Organization> 1 # Switching to organization your_organization... OK # 1: dev # Space> 1 # Switching to space dev... OK |
We are almost ready to deploy our application to Cloud Foundry.
Preparing to deploy an app
As mentioned before, in order to deploy an application, you need to deliver a PostgreSQL service. To create a so-called user-provided service in Cloud Foundry, type the following lines in your terminal.
1 2 3 4 5 6 7 8 9 10 11 12 13 | cf create-service # 1: mongodb , via # 2: user-provided , via # What kind?> 2 # Name?> postgresql-d15b3 # What credential parameters should applications use to connect to this service instance? # (e.g. hostname, port, password)> uri # uri> postgres://cf_helios_user:cf_helios_password@your_postgresql_host/cf_helios_db # Creating service postgresql-d15b3... OK |
Then, create the .cfignore file inside the cf_helios_app directory and add the line below.
1 2 | .sass-cache .env |
Deploying your app to Cloud Foundry
To deploy your application, follow the directions of the Cloud Foundry console. Inside the cf_helios_app directory, do as listed below.
1 2 3 4 5 6 7 8 9 10 11 12 13 14 15 16 17 18 19 20 21 22 23 24 25 26 27 28 29 30 31 32 33 34 35 36 37 38 39 40 41 42 43 44 45 46 47 48 49 50 51 52 53 54 55 | cf push # Name> helios # Instances> 1 # 1: 128M # 2: 256M # 3: 512M # 4: 1G # Memory Limit> 3 # Creating helios... OK # 1: helios # 2: none # Subdomain> 1 # 1: cloudfoundry.yourcfdomain.com # 2: none # Domain> 1 # Binding helios.cloudfoundry.yourcfdomain.com to helios... OK # Create services for application?> n # Bind other services to application?> y # ... # 7: postgresql-d15b3 # Which service?> 7 # Binding postgresql-d15b3 to helios... OK # Bind another service?> n # Save configuration?> y # Saving to manifest.yml... OK # Uploading helios... OK # Preparing to start helios... OK # -----> Downloaded app package (8.0K) # -----> Using Ruby version: ruby-1.9.3 # -----> Installing dependencies using Bundler version 1.3.2 # Running: bundle install --without development:test... # Fetching gem metadata from https://rubygems.org/........ # Fetching gem metadata from https://rubygems.org/.. # Installing i18n (0.6.9) # ... # Checking status of app 'helios'... # 0 of 1 instances running (1 starting) # 0 of 1 instances running (1 starting) # 0 of 1 instances running (1 starting) # 0 of 1 instances running (1 starting) # 0 of 1 instances running (1 starting) # 1 of 1 instances running (1 running) # Push successful! App 'helios' available at helios.cloudfoundry.yourcfdomain.com |
Now, you can access your Helios app. Note that Cloud Foundry has changed the application port from 5000 to 80.

You might want to consider another MBaaS option, such as LoopBack. In this case, you can check out our blog post on how to deploy it to Cloud Foundry.


