Introducing a One-Click Button for Deploying to GE Predix

Do you have a sample app built for Predix that you want to share with others? In the past, you had to describe how to clone a Git repo step-by-step, set up build tools, and provide a Cloud Foundry script for pushing your app to the platform.
Today, we’re introducing the functionality for implementing the “Deploy to Predix” button, which automates the process. This button can be embedded in any README file, blog, article, web page, etc., linking to a publicly visible GitHub repository. It makes your audience immediately productive, deploying a copy of your app into their own Predix accounts—with a single click.
Below, we cover how to create the button for your own app and also explain what happens when a developer clicks it.
How it works
The “Deploy to Predix” button makes it easy for new developers to get started with your application. It automates the following:
- Creates a Predix application in the user’s account
- Instantiates all of the required services and binds them to the created application
- Deploys the server component on the user’s Predix account
Enabling the one-click “Deploy to Predix” button
For the following instructions, we’re assuming that you have a public GitHub repository with a README file and the application source code.
Step 1: Place the button
The first component is the actual “Deploy to Predix” button in your README.md file. Use the following code snippet to create and place the button in your README file by replacing YOUR_GIT_URL_HERE with your repository’s URL.
Note: Your GitHub repository must be public.
HTML:
<a href="https://deploy-to-predix.altoros.com/deploy?repo=YOUR_GIT_URL_HERE"> <іmg src="https://deploy-to-predix.altoros.com/button.png" alt="Deploy to Predix"/></a>
Markdown:
[](https://deploy-to-predix.altoros.com/deploy?repo=YOUR_GIT_URL_HERE)
Your README should now have a button like this:

Step 2: Add and modify your manifest.yml file
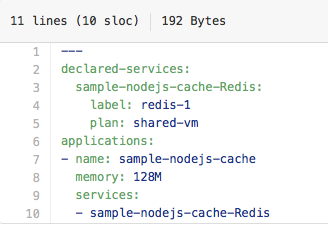
A manifest.yml file placed at the root of the repository specifies which services the app needs.
Modify manifest.yml with the following edits:
- Add the
declared-servicesfield at the top of the file - Copy and paste all the entries of
servicesintodeclared-services, each in its own line - For each service under
declared-services, add thelabelandplanfields
Once finished with the edits, ensure that this file is at the root of your repository. In the end, you should have an output similar to the one below.
Results
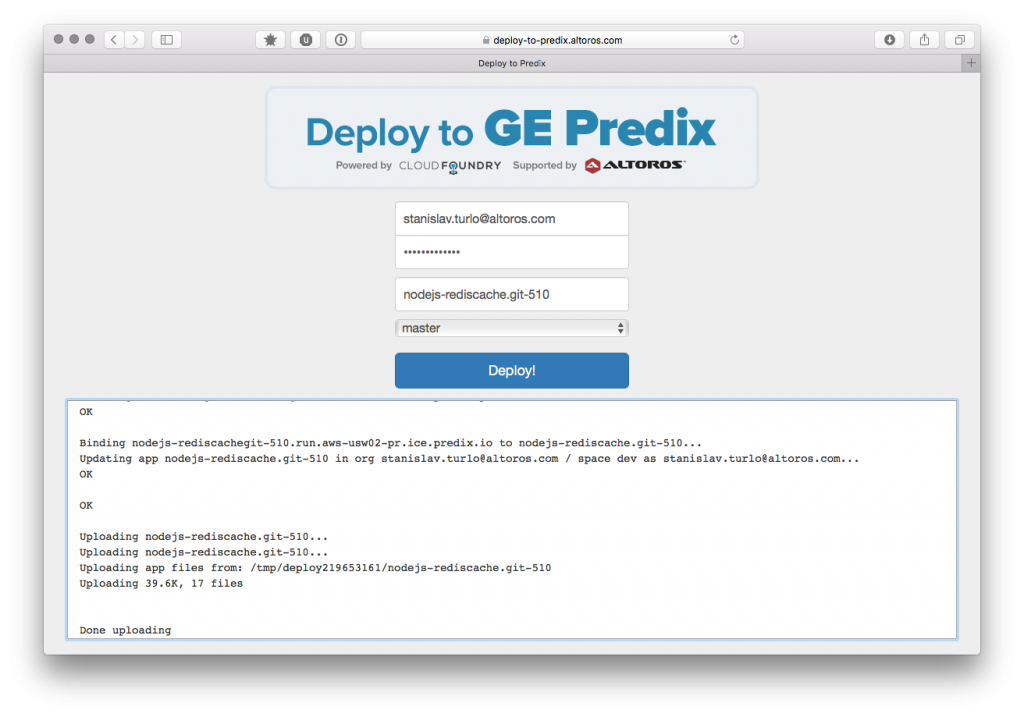
These steps will take place once a developer clicks on the button:
- The specified branch of the specified repository will be cloned.
- If a build file was provided, it will be automatically detected and executed. (Supported build types: Ant, Maven, Gradel, Grunt, and npm).
- The manifest file is used to initialize / bind the required services and deploys the application to the user’s account.
To see the button in action, you can go to our demo repository and click the “Deploy to Predix” button.


