Installing Kubernetes with Kubespray on AWS
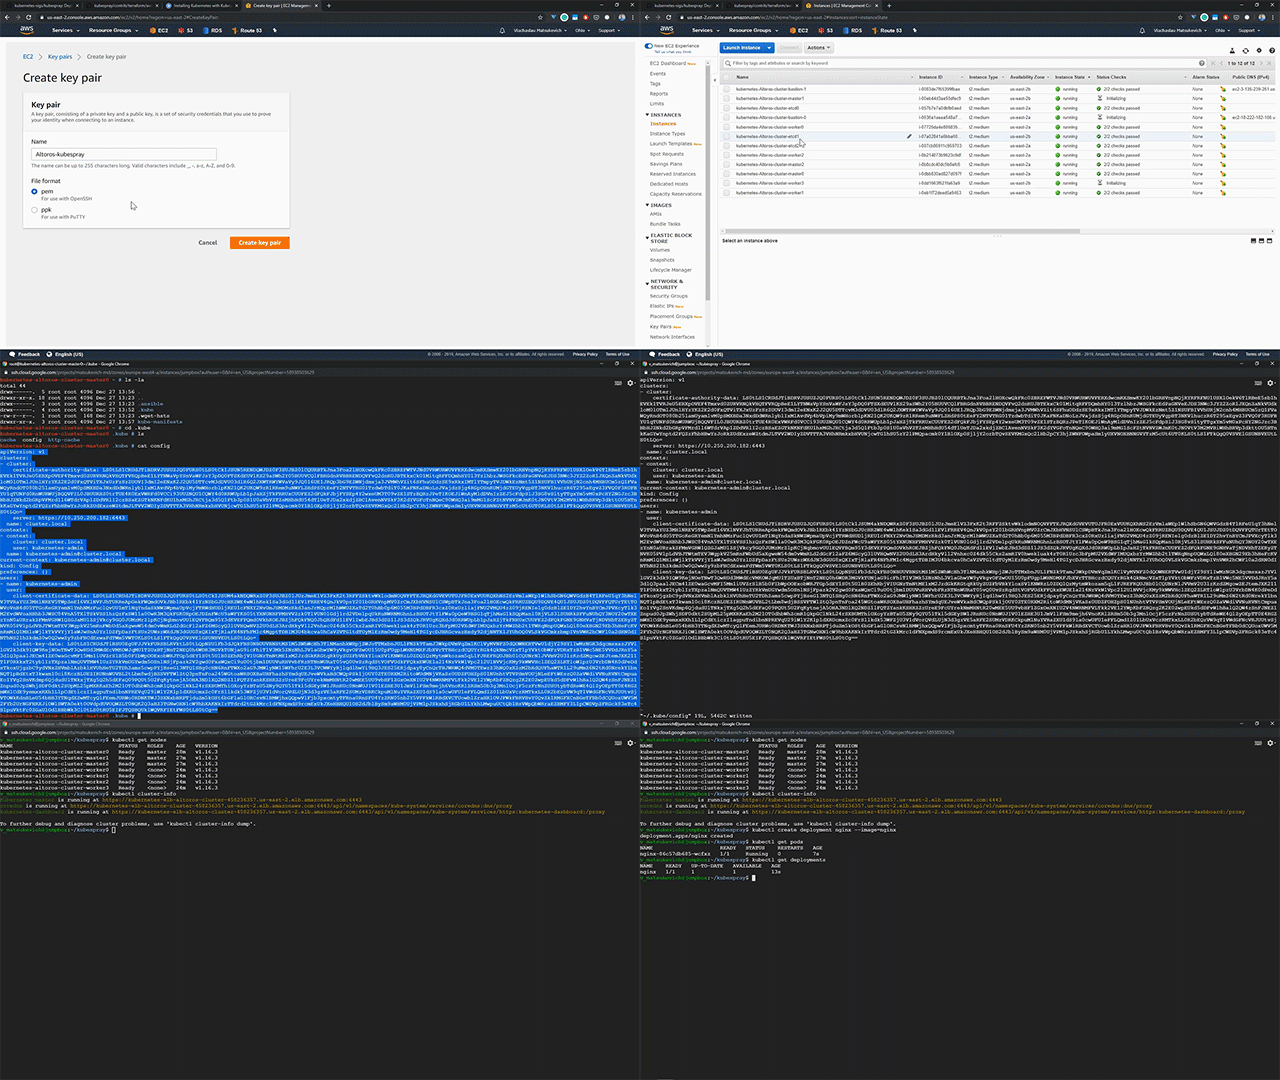
Kubespray is a composition of Ansible playbooks aimed at providing users with a flexible method of deploying a production-grade Kubernetes cluster. However, deploying Kubernetes with Kubespray can get tricky if you are not too familiar with the technology.
In this tutorial, we will show how to deploy Kubernetes with Kubespray on AWS.
Installing dependencies
Before deploying, we will need a virtual machine (hereinafter Jumpbox) with all the software dependencies installed. Check the list of distributions supported by Kubespray and deploy the Jumpbox with one of these distributions. Make sure to have the latest version of Python installed. Next, the dependencies from requirements.text in Kubespray’s GitHub repo must be installed.
1 | sudo pip install -r requirements.txt |
Lastly, install Terraform by HashiCorp. Simply download the latest version of Terraform according to your distribution and install it to your /usr/local/bin folder. For example:
1 2 3 | wget https://releases.hashicorp.com/terraform/0.12.23/terraform_0.12.23_linux_amd64.zip unzip terraform_0.12.23_linux_amd64.zip sudo mv terraform /usr/local/bin/ |
Building a cloud infrastructure with Terraform
Since Kubespray does not automatically create virtual machines, we need to use Terraform to help provision our infrastructure. To start, we create an SSH key pair for Ansible on AWS.
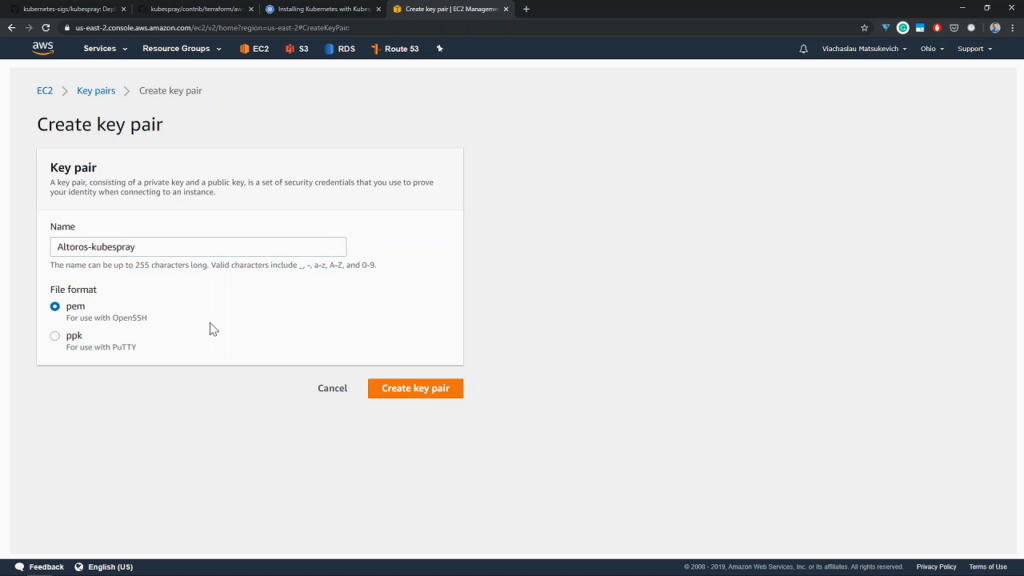 An example of a key pair being created
The next step is to clone the Kubespray repository into our jumpbox.
1 | git clone https://github.com/kubernetes-sigs/kubespray.git |
We then enter the cloned directory and copy the credentials.
1 2 | cd kubespray/contrib/terraform/aws/ cp credentials.tfvars.example credentials.tfvars |
After copying, fill out credentials.tfvars with our AWS credentials.
1 | vim credentials.tfvars |
In this case, the AWS credentials were as follows.
1 2 3 4 5 6 7 8 | #AWS Access Key AWS_ACCESS_KEY_ID = "" #AWS Secret Key AWS_SECRET_ACCESS_KEY = "" #EC2 SSH Key Name AWS_SSH_KEY_NAME = "Altoros-kubespray" #AWS Region AWS_DEFAULT_REGION = "us-east-2" |
Next, we edit terraform.tfvars in order to customize our infrastructure.
1 | vim terraform.tfvars |
Below is an example configuration.
1 2 3 4 5 6 7 8 9 10 11 12 13 14 15 16 17 18 19 20 21 22 23 24 25 26 27 28 29 30 31 32 33 34 | #Global Vars aws_cluster_name = "altoros-cluster" #VPC Vars aws_vpc_cidr_block = "10.250.192.0/18" aws_cidr_subnets_private = ["10.250.192.0/20", "10.250.208.0/20"] aws_cidr_subnets_public = ["10.250.224.0/20", "10.250.240.0/20"] #Bastion Host aws_bastion_size = "t2.medium" #Kubernetes Cluster aws_kube_master_num = 3 aws_kube_master_size = "t2.medium" aws_etcd_num = 3 aws_etcd_size = "t2.medium" aws_kube_worker_num = 4 aws_kube_worker_size = "t2.medium" #Settings AWS ELB aws_elb_api_port = 6443 k8s_secure_api_port = 6443 kube_insecure_apiserver_address = "0.0.0.0" default_tags = { # Env = "devtest" # Product = "kubernetes" } inventory_file = "../../../inventory/hosts" |
Next, initialize Terraform and run terraform plan to see any changes required for the infrastructure.
1 2 | terraform init terraform plan -out mysuperplan -var-file=credentials.tfvars |
After, apply the plan that was just created. This begins deploying the infrastructure and may take a few minutes.
1 | terraform apply “mysuperplan” |
Once deployed, we can check out the infrastructure in our AWS dashboard.
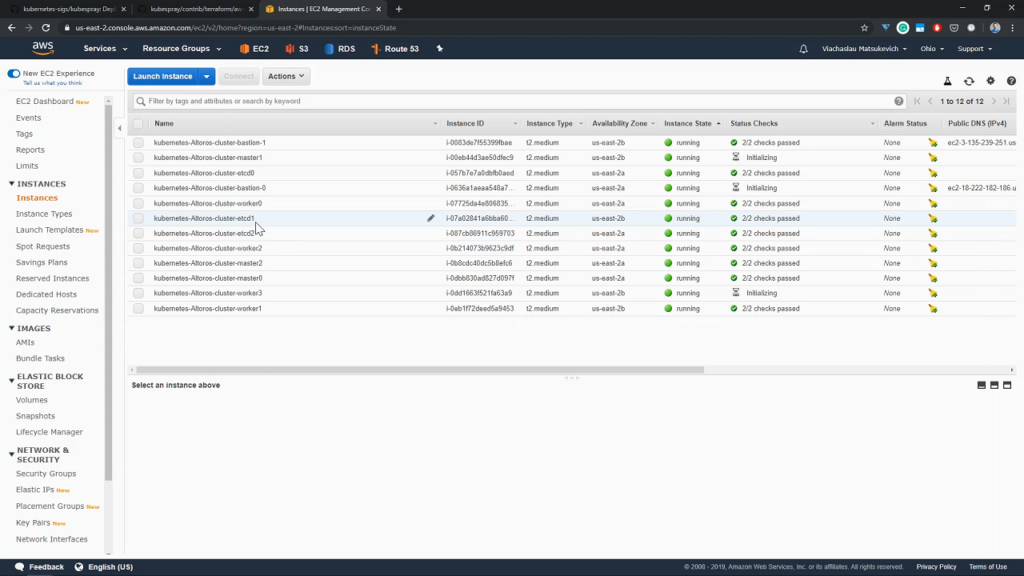 Deployed instances shown in the AWS dashboard
Deploying a cluster with Kubespray
With the infrastructure provisioned, we can begin to deploy a Kubernetes cluster using Ansible. Start off by entering the Kubespray directory and use the Ansible inventory file created by Terraform.
1 2 | cd ~/kubespray cat inventory/hosts |
Next, load the SSH keys, which were created in AWS earlier on. First, create a file (in our case, it will be located at ~/.ssh/Altoros/kubespray.pem) and paste the private part of the key created at AWS there.
1 2 3 4 | cat “<PRIVATE_KEY_CONTENT>” > ~/.ssh/Altoros/kubespray.pem eval $(ssh-agent) ssh-add -D ssh-add ~/.ssh/Altoros/kubespray.pem |
Once the SSH keys are loaded, we can now deploy a cluster using Ansible playbooks. This takes roughly 20 minutes.
1 | ansible-playbook -i ./inventory/hosts ./cluster.yml -e ansible_user=core -b --become-user=root --flush-cache |
Configuring access to the cluster
Now that the cluster has been deployed, we can configure who has access to it. First, find the IP address of the first master.
1 | cat inventory/hosts |
After identifying the IP address, we can SSH to the first master.
1 | ssh -F ssh-bastion.conf core@10.250.200.182 |
Once connected, we are set as a core user. Switch to the root user and copy the kubectl config located in the root home folder.
1 2 3 4 | sudo ~s cd ~ cd .kube cat config |
Highlight and copy the kubectl config as shown in the following image.
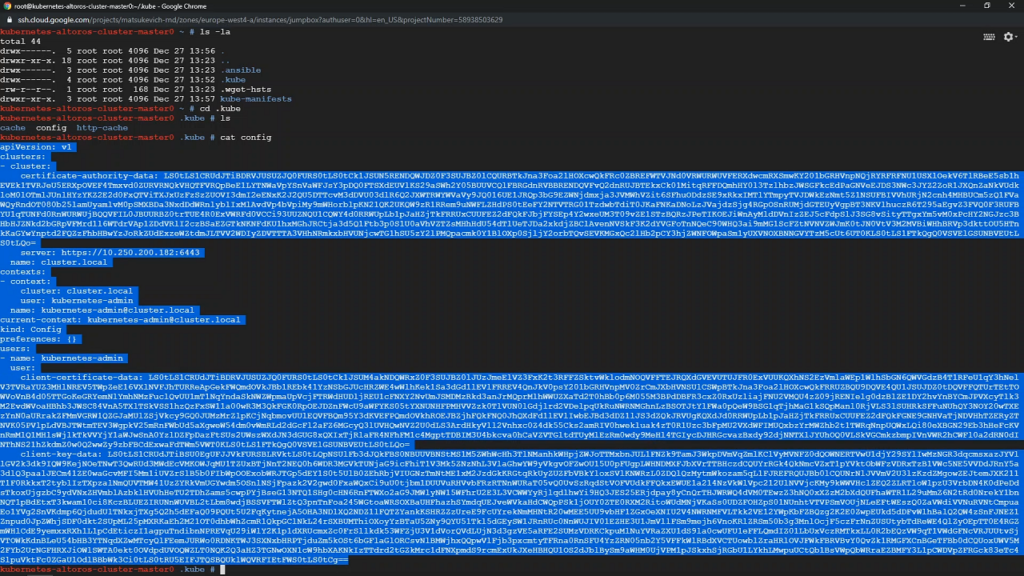 Example kubectl config
Return to the jumpbox and go to kube/config.
1 2 | exit vim ~/.kube/config |
Paste the copied kubectl config here.
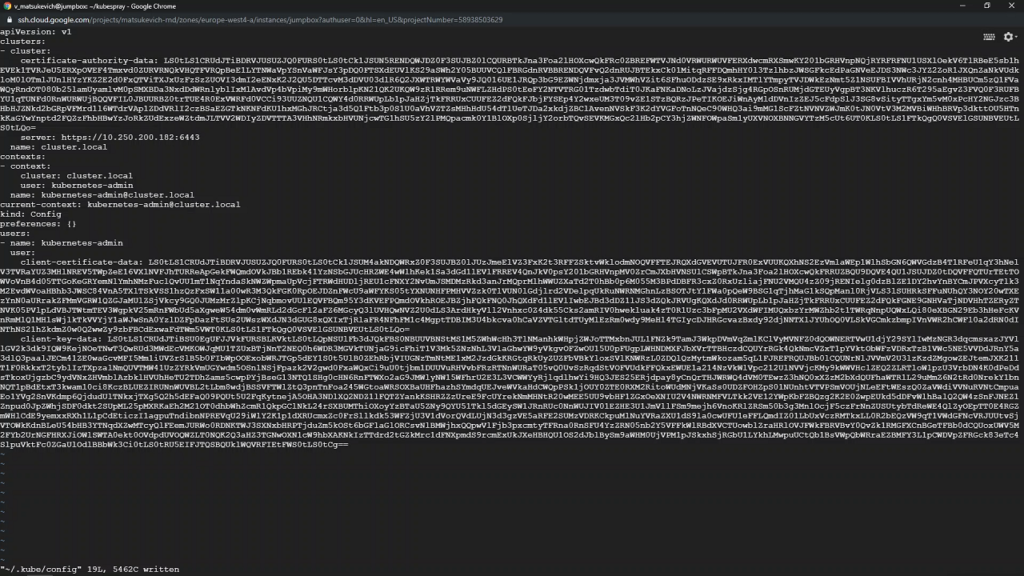 Copying kubectl config
Next, copy the URL of the load balancer from the inventory file. In our case, the URL is kubernetes-elb-altoros-cluster-458236357.us-east-2.elb-amazonaws.com. Paste this URL into the server parameter in kubectl config. Do not overwrite the port.
Running test deployments
After configuring access to the cluster, we can check on our cluster.
1 2 | kubectl get nodes kubectl cluster-info |
Node and cluster details will be shown in the console.
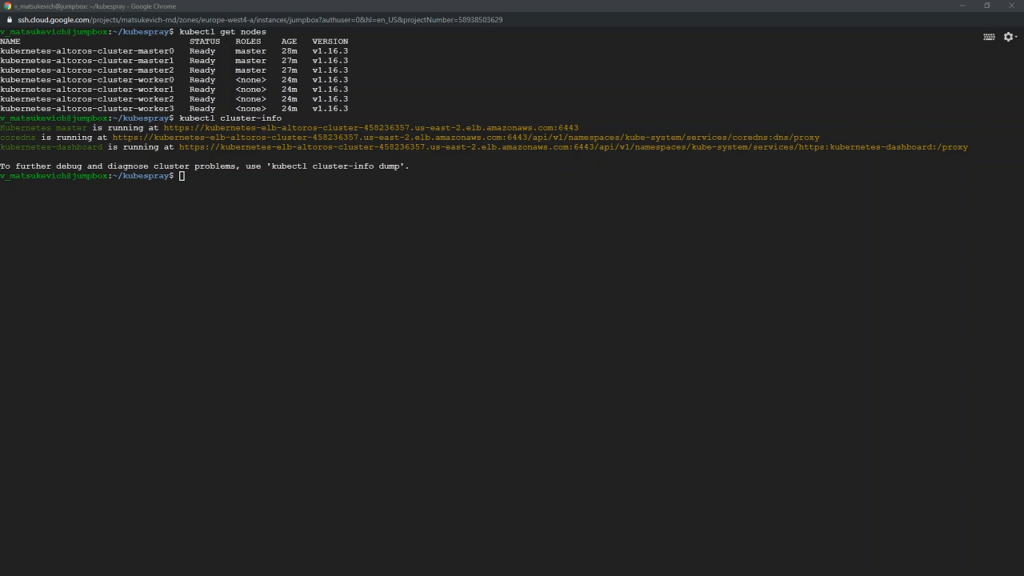 Cluster and node details
With the cluster ready, we can run a test deployment.
1 2 3 | kubectl create deployment nginx --image=nginx kubectl get pods kubectl get deployments |
Entering this commands should deploy NGINX and also return the status of the pods and deployments.
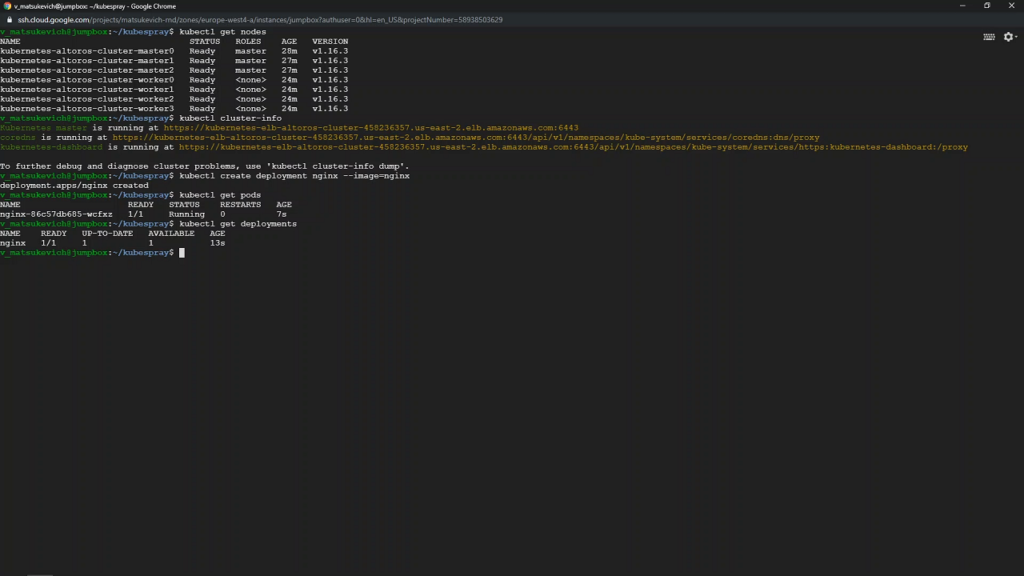 A successful test deployment
With this, we have successfully provisioned our cloud infrastructure with Terraform. We then deployed a Kubernetes cluster using Kubespray. We also configured access to the cluster and were finally able to run test deployments.
More on Kubespray can be found in its GitHub repository, as well as in the project’s official documentation.
Want details? Watch the video!
The video demonstrates how to deploy Kubernetes clusters on AWS using Kubespray.
Further reading
- A Multitude of Kubernetes Deployment Tools: Kubespray, kops, and kubeadm
- A Comparative Analysis of Kubernetes Deployment Tools: Kubespray, kops, and conjure-up
- Kubernetes Cluster Ops: Options for Configuration Management
edited by Sophia Turol and Alex Khizhniak.


