Deploying a Rails 5 App with MongoDB, Redis, and CarrierWave to IBM Bluemix
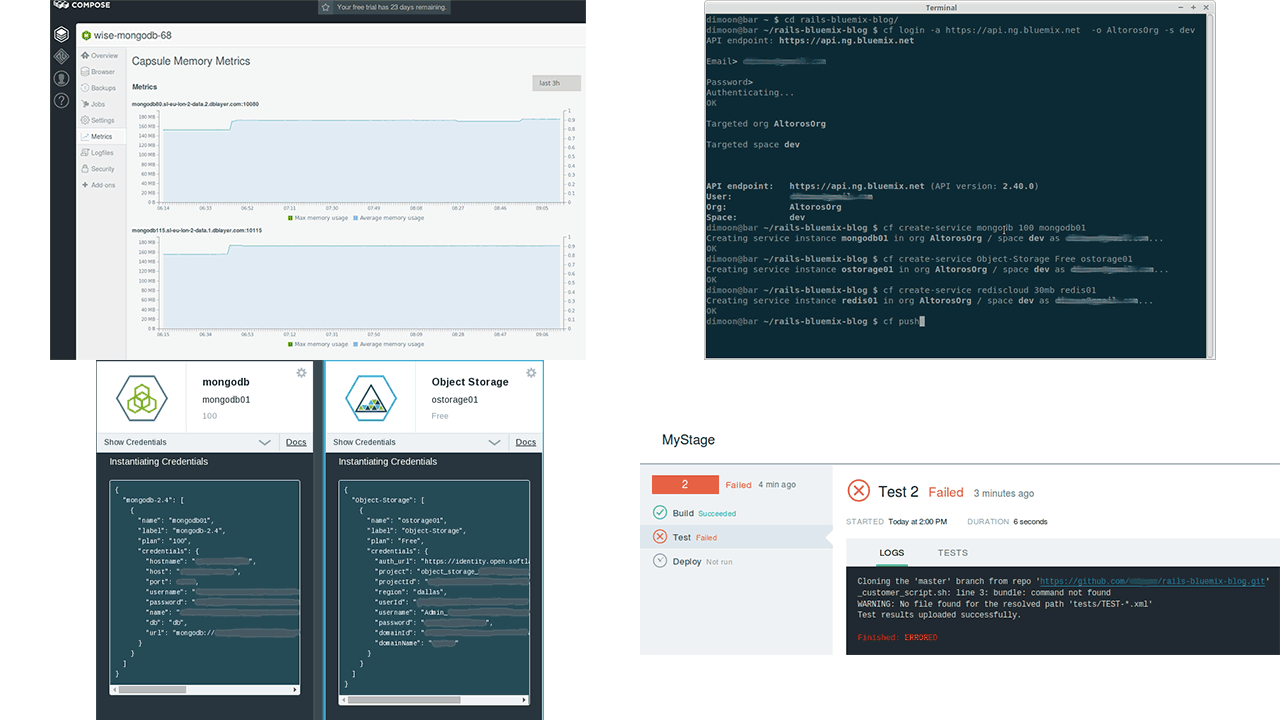
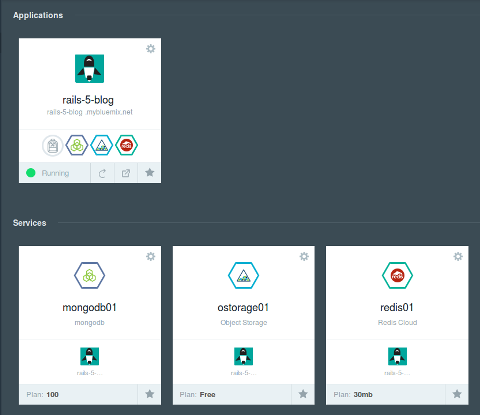
In this post, we show how to deploy a Rails 5 application with MongoDB as a database and CarrierWave for image processing to Bluemix. The source code for the article is available in this GitHub repo.
Please keep in mind one slight difference: in the article, credentials are set in a more explicit way with user-defined environment variables, while in the repository, they are fetched from the Cloud Foundry application auto-generated VCAP_SERVICES variable.
Prerequisites
To follow the steps of this tutorial, you need:
- a Bluemix account
cfswift(a Python client)
Adding and configuring services
Before deploying, you need to create services instances for your application. You can do it through the CLI or the UI. Note that a free MongoDB service hosted by Bluemix is not available in the UI. In addition, some configuration options have to be specified in the manifest.yml file.
Adding services through the CLI
The organization you intend to use and the space within it should be created in the Bluemix UI before you authenticate with cf login. They can have any names that you choose.
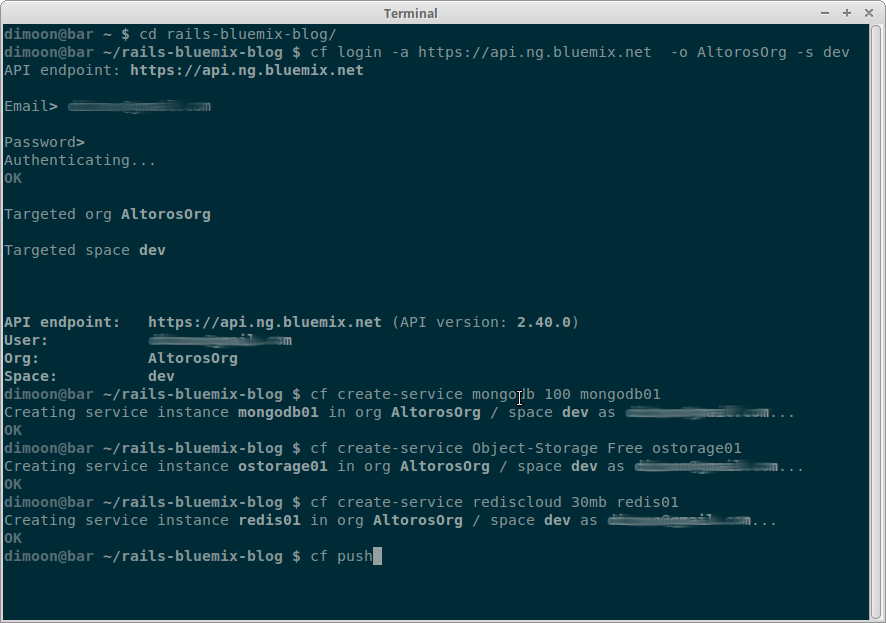
After creating a new service, you should bind it to your application as explained in the official Bluemix documentation. Alternatively, you can specify dependencies names in manifest.yml, and then cf push will do it for you.
To add a service from the command line, use cf create-service. Below, you will find its syntax.
1 | cf create-service SERVICE PLAN SERVICE_INSTANCE |
where:
SERVICEis the service name.PLANis the service plan.SERVICE_INSTANCEis the name of your service instance. It is an instance alias that is meaningful to you.
For more information, please check out the official Cloud Foundry docs.
First, we need to set up our MongoDB.
1 2 | cf create-service mongodb 100 mongodb01 cf set-env APP-NAME DATABASE_URL “YOUR_MONGODB_URI” |
After that, configure the database connection in your config/mongoid.yml.
1 2 3 4 5 | ... production: clients: default: uri: <%= ENV[‘DATABASE_URL’] %> |
We will also need the Object Storage service and Redis.
1 2 3 4 5 6 7 | # Object Storage cf create-service Object-Storage Free ostorage01 cf set-env APP_NAME OSTORAGE_CREDENTIALS ‘{“auth_url”:...}’ # Get credentials from the Bluemix console. # Redis cf create-service rediscloud 30mb redis01 cf set-env APP_NAME REDIS_URL "http://rediscloud:password@hostname:port" |
If you store the Object Storage credentials in an environment variable as described above, your CarrierWave initializer should look similar to the one in this example. Note that you should choose the fog-openstack gem version 0.1.2 or later to use Bluemix Object Storage in your application.
1 2 3 4 5 6 7 8 9 10 11 12 13 14 15 16 17 18 19 20 21 | config/initializers/carrierwave.rb: CarrierWave.configure do |config| if Rails.env.production? creds = JSON.parse(ENV['OSTORAGE_CREDENTIALS']) config.storage = :fog config.fog_credentials = { provider: 'OpenStack', openstack_auth_url: creds['auth_url'] + '/v3/auth/tokens', openstack_api_key: creds['password'], openstack_project_id: creds['projectId'], openstack_userid: creds['userId'], openstack_region: creds['region'], openstack_temp_url_key: ENV['OS_TEMP_URL_KEY'], openstack_auth_omit_default_port: true } config.fog_directory = 'your_ostorage_container_name' config.fog_public = false config.fog_authenticated_url_expiration = 600 end end |
As we use MongoDB instead of PostgreSQL, we have to provide ActionCable with Redis configuration. The following configuration file addresses this issue as shown below.
1 2 3 4 5 | config/cable.yml: production: adapter: redis url: <%= ENV[‘REDIS_URL’] %> |
To use Object Storage, you need to create a container and set fog_directory to its name. You also need TEMP_URL_KEY—a random secret string—to generate public URLs for your images. To do so, run the following commands.
1 2 | swift --os-auth-url 'https://identity.open.softlayer.com/v3' --auth-version 3 --os-project-id PROJECT_ID --os-region REGION --os-user-id USER_ID --os-password PASSWORD post -m 'Temp-URL-Key:YOUR_KEY' cf set-env APP_NAME OS_TEMP_URL_KEY YOUR_KEY |
Adding services through the UI
Note that sometimes you can choose between different offerings for the same tool in the Bluemix services catalog. For example, you have two options for Redis: Redis Cloud and Redis by Compose.
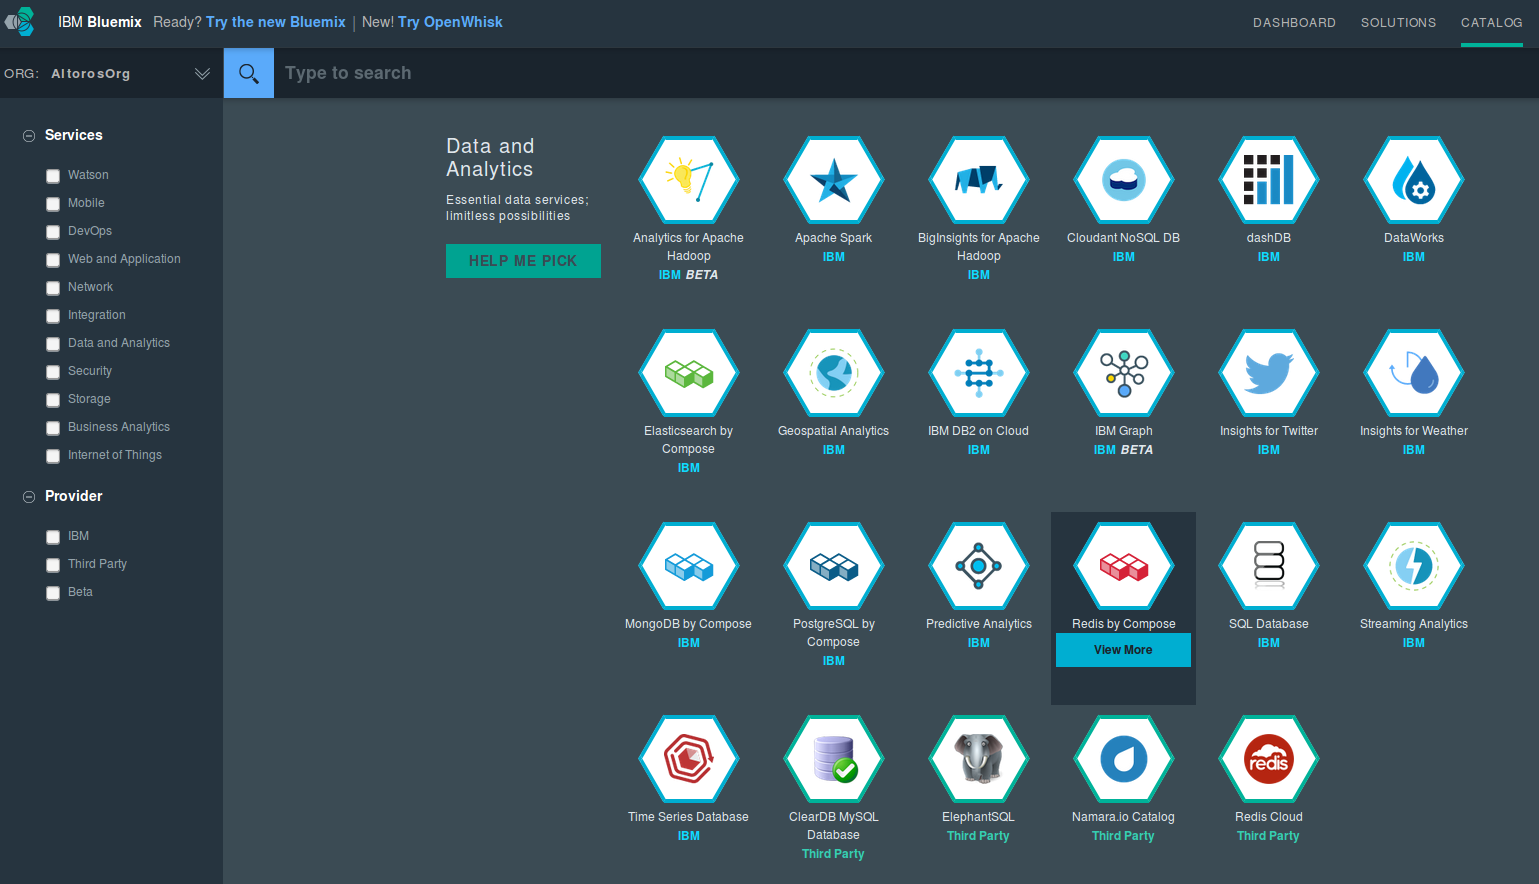
The last one gives you a configuration that is pretuned for high availability, includes additional security features, and also provides a number of metrics. The same is true for MongoDB.
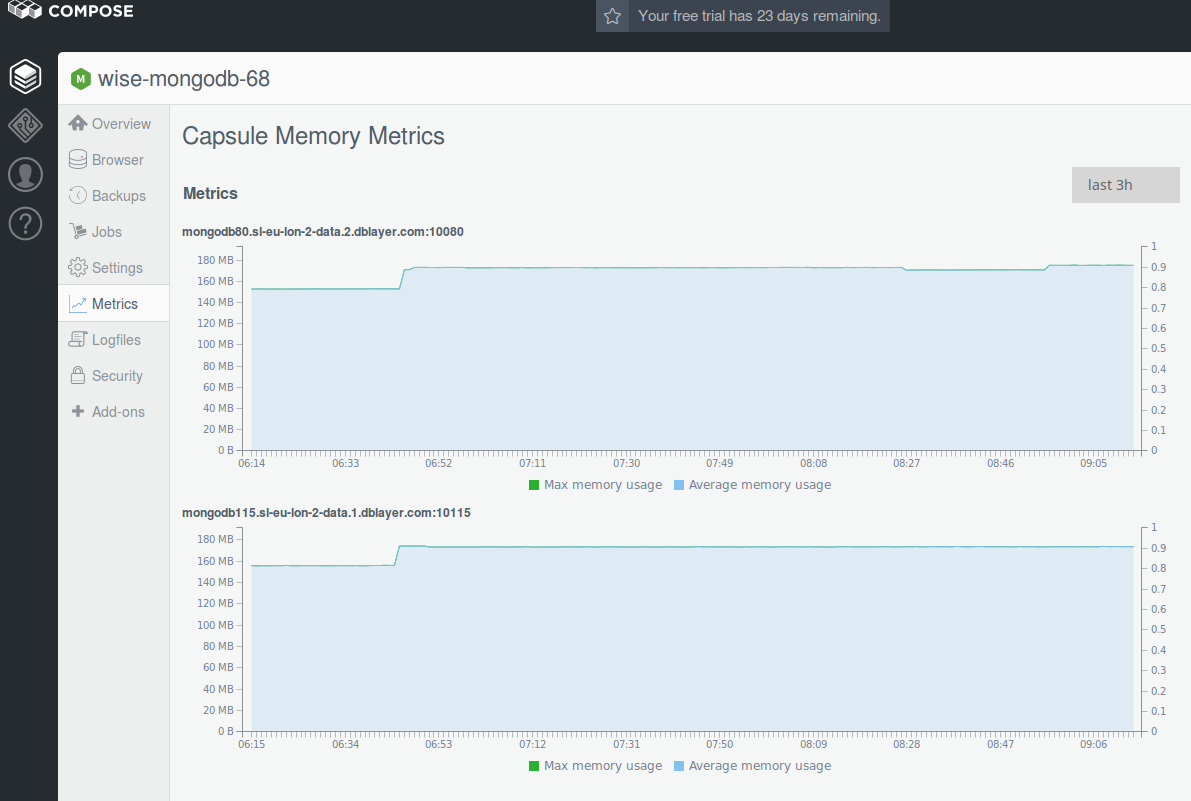 MongoDB Compose metrics
After you create all the services, you should set the environment variables—DATABASE_URL, REDIS_URL, OSTORAGE_CREDENTIALS, and OS_TEMP_URL_KEY—according to their credentials.
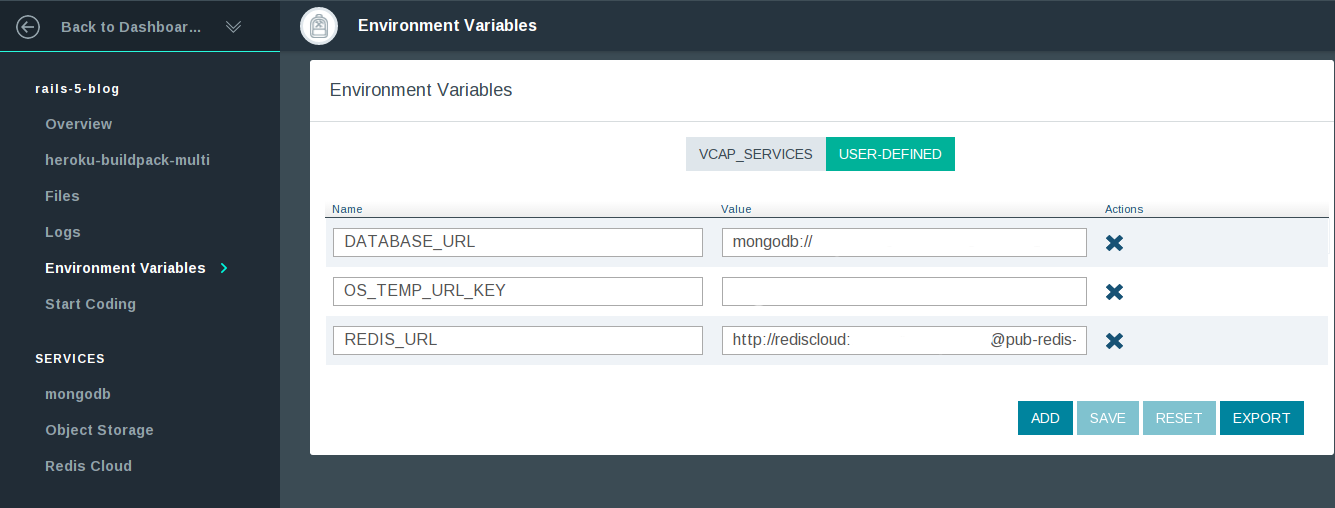 Setting environment variables in the Bluemix UI
Below, you can also see an example of reading service credentials.
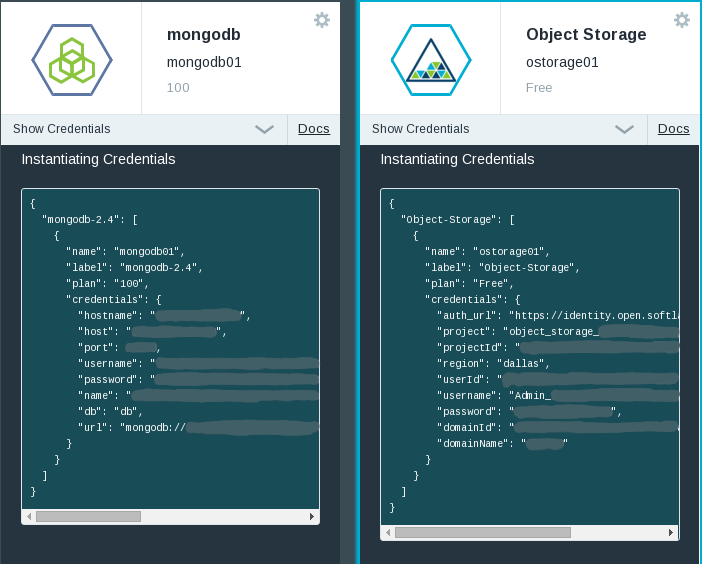 Reading services credentials on the Bluemix website
Manifest.yml
The manifest.yml file consists of two sections. The first section—declared-services—describes services that an application uses. Below, you will find this very section for the sample application.
1 2 3 4 5 6 7 8 9 10 | declared-services: mongodb01: label: Rails 5 blog MongoDB plan: 100 ostorage01: label: Rails 5 blog Object Storage plan: Free redis01: label: Rails 5 blog Redis plan: 30mb |
The keys are the names of the services that are to be referenced later. The values specify the services labels and plans.
The second section—applications—describes the application itself. Here is this section for the sample application with the properties defined below.
1 2 3 4 5 6 7 8 9 10 11 12 | applications: - name: rails-5-blog memory: 256M instances: 1 path: . stack: cflinuxfs2 buildpack: https://github.com/ddollar/heroku-buildpack-multi.git command: bundle exec puma -e production -p $PORT services: - mongodb01 - ostorage01 - redis01 |
where:
nameis the application name as it is shown in your Bluemix console.memoryis the amount of RAM that is reserved per a single instance of the application excluding services.instancesis the number of instances to start.pathis a relative path to the project that is deployed. It can be a folder for Ruby or, for example, awar/jarfile for Java.stackis the Cloud Foundry image for the application. Thecflinuxfs2image is based on Ubuntu 14.04 (Trusty), and it is the most common choice for Ruby applications.buildpackis a Git or local path to the used buildpack. For plain Ruby applications, it is typicallyhttps://github.com/cloudfoundry/ruby-buildpack.git. To usewkhtmltopdfin the example, we refer to the buildpack that lets to specify multiple buildpacks for a single application. In this case, the used buildpacks are included in the.buildpacksfile.commanddefines what command to run to start the application. It has to be a foreground program, and the default start timeout is 60 seconds. Note that your application should listen to the port specified with the$PORTenvironment variable and not to the port 80 that is used as an upstream for the NGINX server.serviceslists the names of all services bound to the application. These services should be described in thedeclared-servicessection mentioned above.
Deploying the application
To deploy, you can just go to your application directory and run cf push. (Of course, you need to use cf login for the first time.) For real-world applications, you might need something more powerful:
- Git integration and GitHub hooks
- Auto-deployment with DevOps Services
- Continuous Integration and Continuous Delivery, etc.
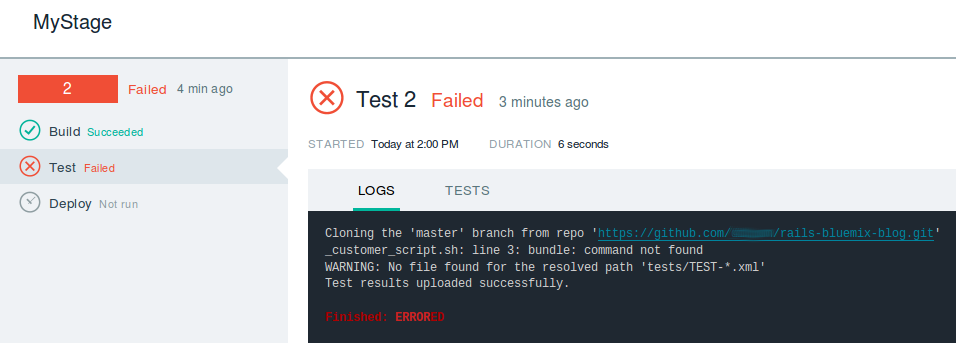 Build and deploy in Bluemix
When using the CLI, you will get the result as shown below.
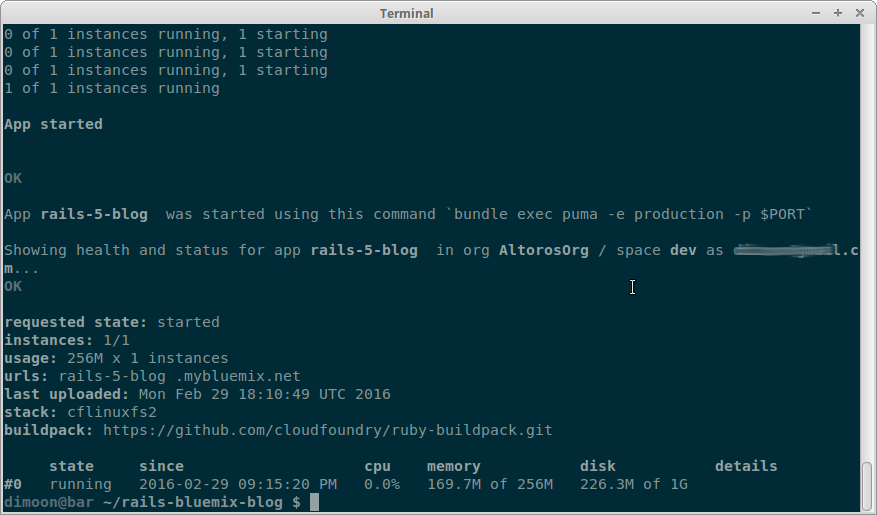
If you want to use background jobs in your Rails application, check out the official Cloud Foundry docs. Notice that your application needs to be deployed twice in this case.
Further reading
- Getting Started with IBM Bluemix: Deploying a Sample Ruby/Sinatra App
- Continuous Integration and Continuous Delivery in IBM Bluemix
- Using IBM Bluemix Object Storage in Ruby Projects
- Deploying a Rails App with Elasticsearch to IBM Bluemix
- Using the Bluemix Insights for Twitter Service with a Rails App
About the authors
Nick Herman is a software engineer at Altoros. He specializes in web development using Ruby and JavaScript as his primary tools. Nick also has professional interests and expertise in many other areas related to software engineering, including programming languages and cloud technologies.
Dzmitry Bardziyan is a Ruby and JavaScript developer at Altoros. He has solid knowledge of Rackspace, AWS, SoftLayer, vSphere, and other infrastructure solutions, as well as background in system administration. Dzmitry also contributes to a number of IT magazines.


