Deploying a Goji / PostgreSQL App to IBM Bluemix
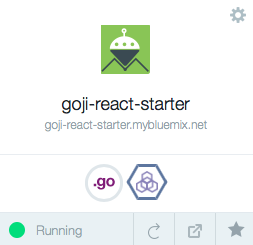
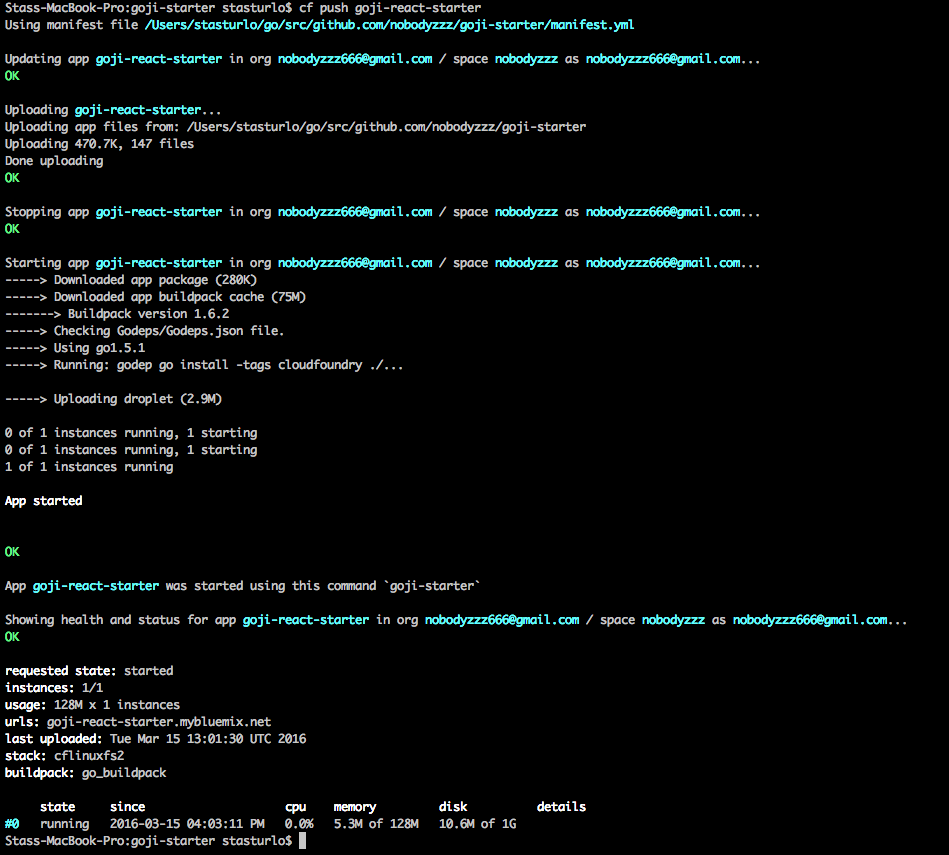
In this post, we show how to deploy a simple Go web application using Goji to handle requests and PostgreSQL as a database to Bluemix. The source code for the article is available here.
Prerequisites
To follow the steps of this tutorial, you need:
- a Bluemix account
- the Cloud Foundry CLI
Adding and setting up a database service
Before deploying, you need to create services instances for your application. You can do it through the CLI or the UI.
Adding services through the CLI
For adding a service from the command line, use cf create-service. Here is its syntax:
1 | cf create-service SERVICE PLAN SERVICE_INSTANCE |
where:
SERVICEis the service name.PLANis the service plan.SERVICE_INSTANCEis the name of your service instance. It is an instance alias that is meaningful to you.
Find more information in the Cloud Foundry Docs.
To set up your PostgreSQL, run:
1 | cf create-service postgresql 100 postgresql01 |
After creating a new service, you should bind it to your application as explained in the Bluemix Docs:
1 | cf bind-service YOUR_APP_NAME postgresql01 |
Adding services through the UI
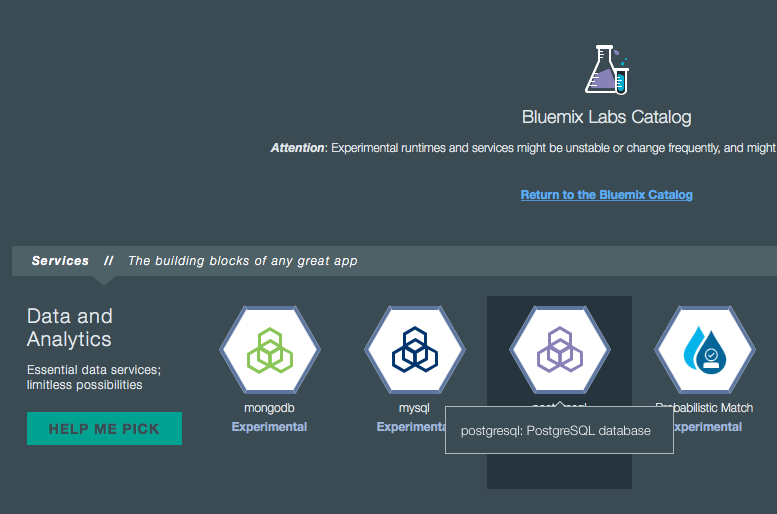
Note that sometimes you can choose between different offerings for the same tool in the Bluemix services catalog.
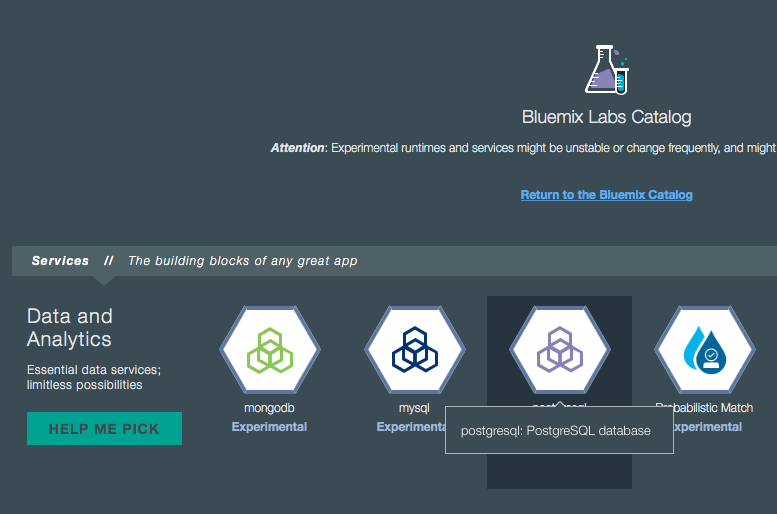
For example, you have two options for PostgreSQL: postgresql and PostgreSQL by Compose.
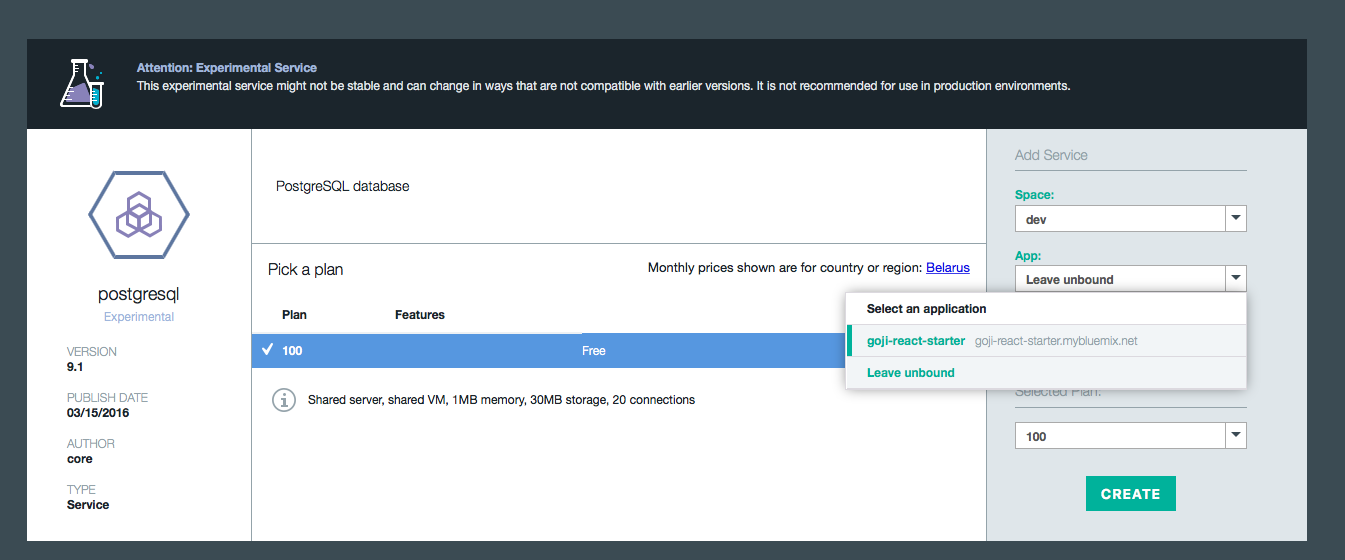
The latter service gives you a configuration that is pre-tuned for high availability, backups and disaster prevention, and it also uses the latest production release of PostgreSQL.
Deploying the application
To deploy, you can just go to your application directory and run cf push. (You need to use cf login for the first time.) For real-world applications, you might need something more powerful:
- Git integration and GitHub hooks
- Auto-deployment with DevOps Services
- Continuous Integration and Continuous Delivery in IBM Bluemix
Note: If you introduce a new dependency to your golang application, do not forget to run godep save ./... before you do cf push.


