How to Push an ASP.NET 5 Application to IBM Bluemix
With the announcement from IBM, Cloud Foundry-based environments became available for ASP.NET 5 applications. In this tutorial, we show how to deploy a simple ASP.NET application to Bluemix.
Prerequisites
Bluemix only supports ASP.NET 5, which Microsoft is currently renaming to ASP.NET Core 1.0, so the previous versions might not work in Bluemix.
To follow the steps of this tutorial, you need:
- an IBM Bluemix account
- Microsoft Visual Studio 2015
- the IBM Bluemix CLI
- the Cloud Foundry CLI
Creating an application in the Bluemix console
To create an application:
- Log in to your Bluemix account and navigate to Dashboard.
- Click Create App, choose Web, and then select the ASP.NET 5 runtime from the list.
- Name your application.
That’s it, you are done with the Bluemix console.
Preparing an application for Bluemix
In the Bluemix console, you can see the generated endpoint URL for your application similar to http://<your app name>.eu-gb.mybluemix.net.
- Go to Microsoft Visual Studio 2015 and create a new project using a standard ASP.NET 5 template.
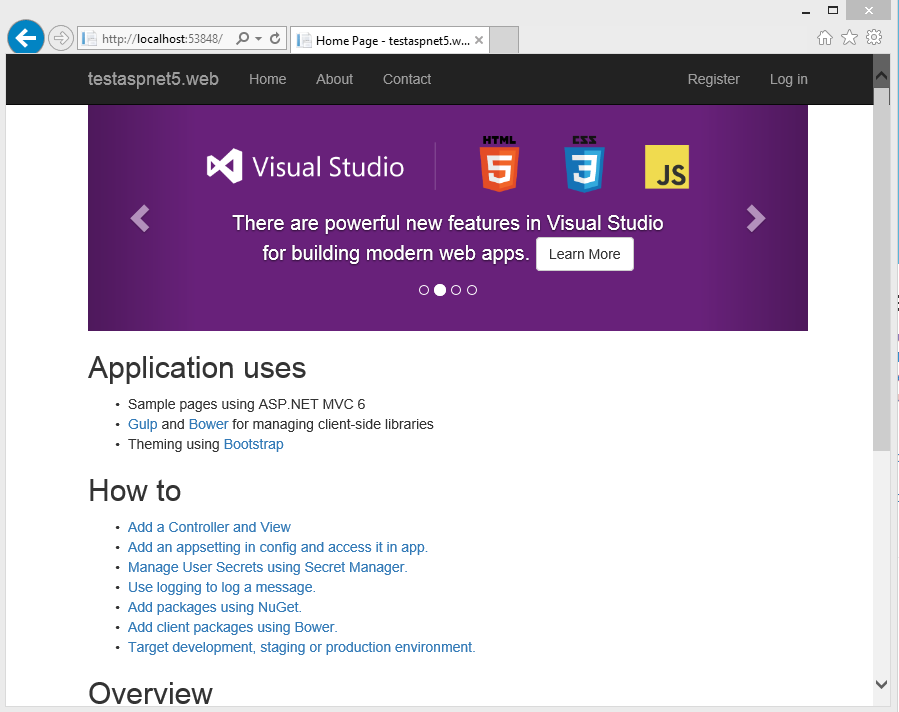
- Compile and start the application to check if it works locally.
For deploying the application in Bluemix, modify the
project.jsonfile.First, include the
Microsoft.AspNet.Server.Kestreldependency and thekestrelcommand. Then, make sure your application targets thednxcode50framework.These changes help Bluemix to choose the correct buildpack for the application. Here is how the
project.jsonfile should look like:"dependencies": { ... "Microsoft.AspNet.Server.Kestrel": "1.0.0-beta8", }, "commands": { ... "kestrel": "Microsoft.AspNet.Hosting --server Microsoft.AspNet.Server.Kestrel" }, "frameworks": { "dnxcore50": { } } ...- Compile and start the application again to check if the configuration is valid.
Pushing the application to Bluemix
After we prepared the application for Bluemix, it’s time to deploy it with Cloud Foundry.
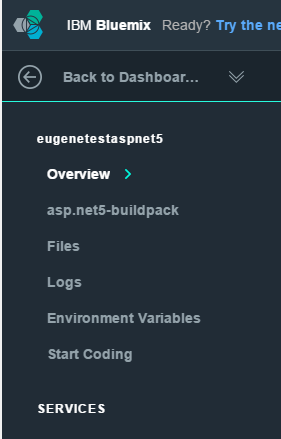
First, open the Bluemix console, navigate to Dashboard, and click the recently created application. On the Overview page, select the Start Coding section from the left menu. This page has all the instructions needed to deploy the application. In particular, Bluemix offers two ways:
- using the Cloud Foundry Command Line Interface
- using Git
I am going to use the command line interface. If you prefer working with Git, follow the instructions from this video tutorial.
With the IBM Bluemix and Cloud Foundry command line interfaces installed, go through these steps:
Open
cmd.exeand change to your ASP.NET directory:cd <folder where project.json is located>
Set Bluemix
apifor your further API calls:bluemix api https://api.eu-gb.bluemix.net
Log in to your account:
bluemix login -u <your bluemix email> -o <your bluemix organization> -s dev
where:
-usets the username.-osets the organization.-ssets the environment.
You will be also asked for your password—the one you chose during the registration.
After logging in, push the application:
cf push eugenetestaspnet5 -b https://github.com/cloudfoundry-community/asp.net5-buildpack.git
The
cf pushcommand has two parameters:- the Bluemix application name (required)
- the Cloud Foundry buildpack (optional). If you skip the
-bparameter, Bluemix automatically decides which buildpack to use based on yourproject.jsonfile.
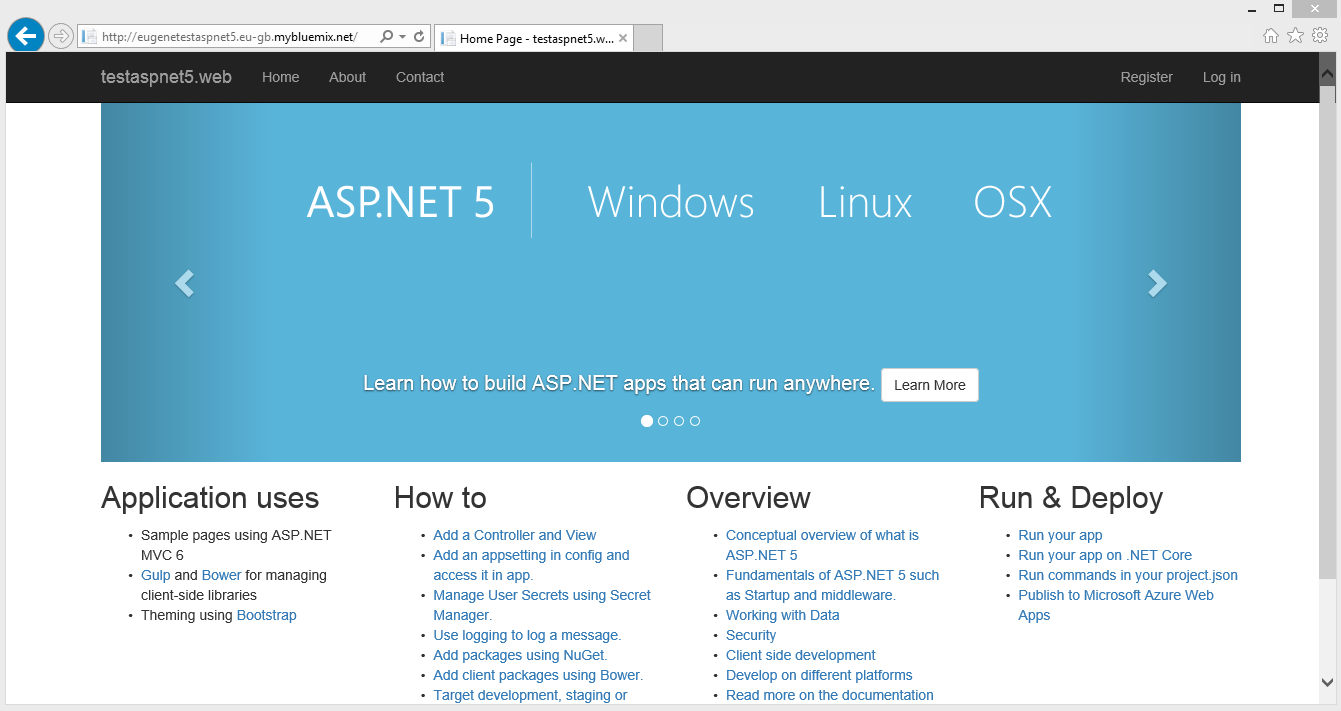
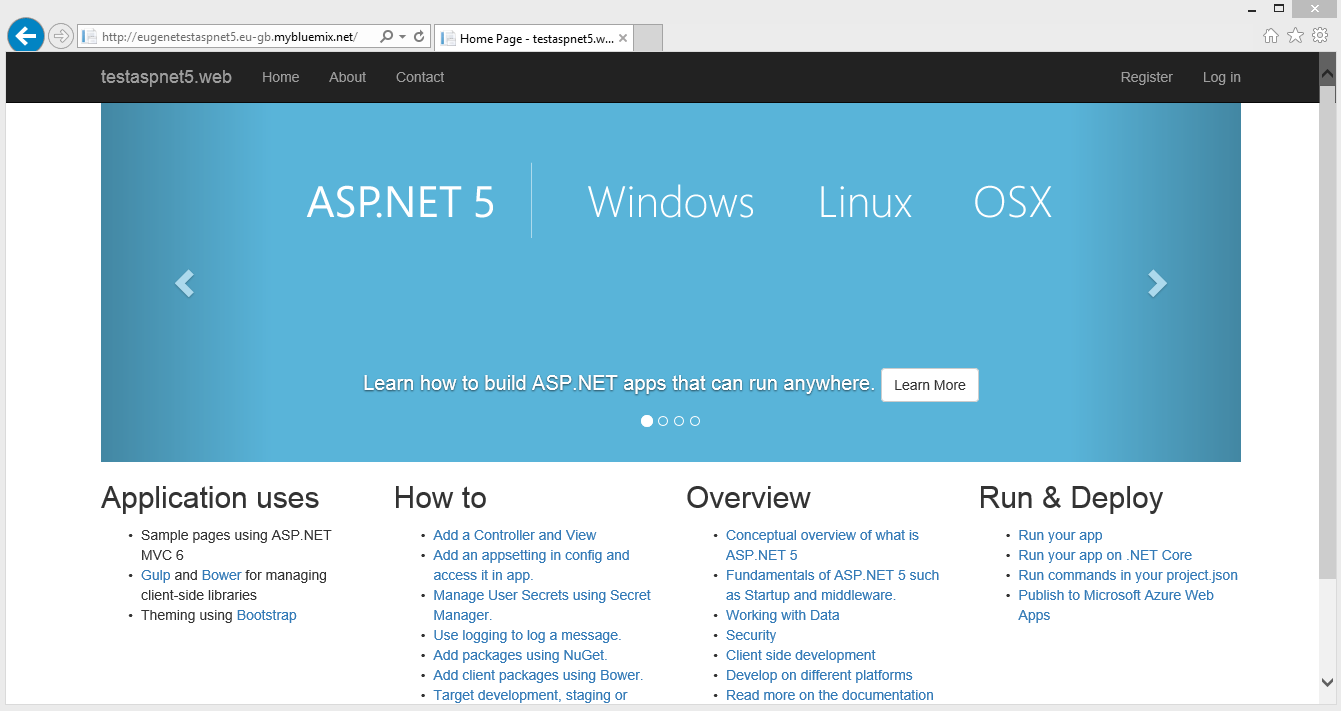
You can see the result in the browser: http://<your app name>.eu-gb.mybluemix.net/.
Conclusion
It took me about two minutes to create the droplet for the first time and upload it to the Bluemix server. This process, however, can take a bit more or less time depending on your Internet connection. In addition, cf push has some caching functionality to decrease the command execution time. In my future posts, I am going to show how to work with different Bluemix services from our sample ASP.NET application.
Related reading
- Getting Started with IBM Bluemix: Deploying a Sample Ruby/Sinatra App
- Continuous Integration and Continuous Delivery in IBM Bluemix
- Using IBM Bluemix Object Storage in Ruby Projects
- Deploying a Rails App with Elasticsearch to IBM Bluemix
- Using the Bluemix Insights for Twitter Service with a Rails App
- Deploying a Rails 5 App with MongoDB, Redis, and CarrierWave to IBM Bluemix


