Deploying an ASP.NET Application to GE Predix


Predix is a Cloud Foundry–based PaaS for the Industrial Internet from GE. It offers developers a wide choice of programming languages and services. This tutorial guides you through the process of preparing a simple ASP.NET application for Predix and then pushing it to the platform.
Prerequisites
To follow the steps of this tutorial, you need:
- a Predix account
- Microsoft Visual Studio 2015
- the Cloud Foundry CLI
Setting up the Predix console
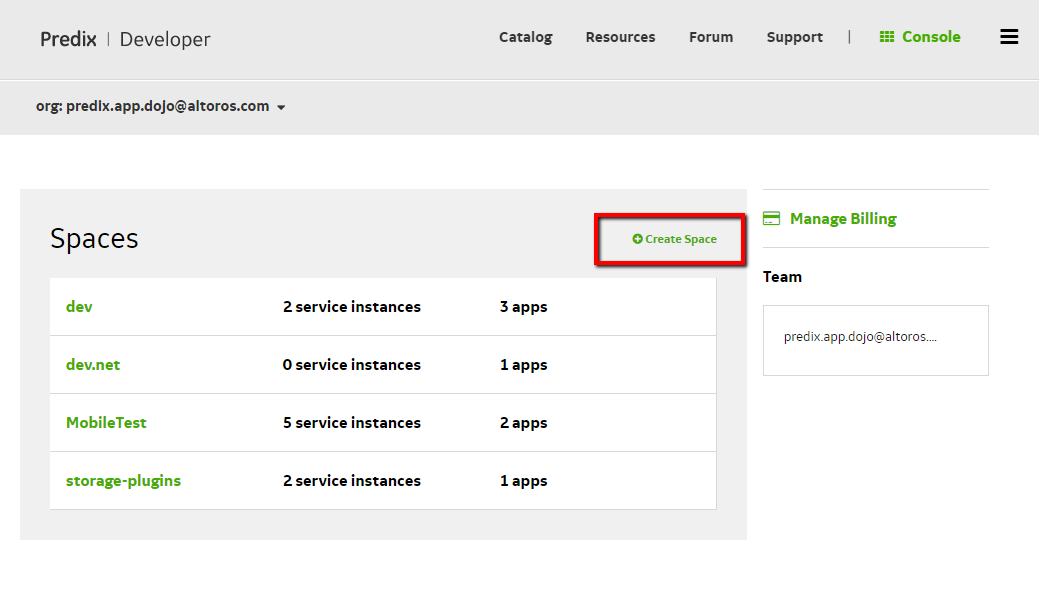
To get started, create a new space:
- Log in to your Predix account and navigate to Console.
- Click Create Space and type a name for your space.
Preparing the application for Predix
To make your ASP.NET application ready for deployment to Predix:
- Go to Microsoft Visual Studio 2015 and create a new project using a standard ASP.NET 5 template.
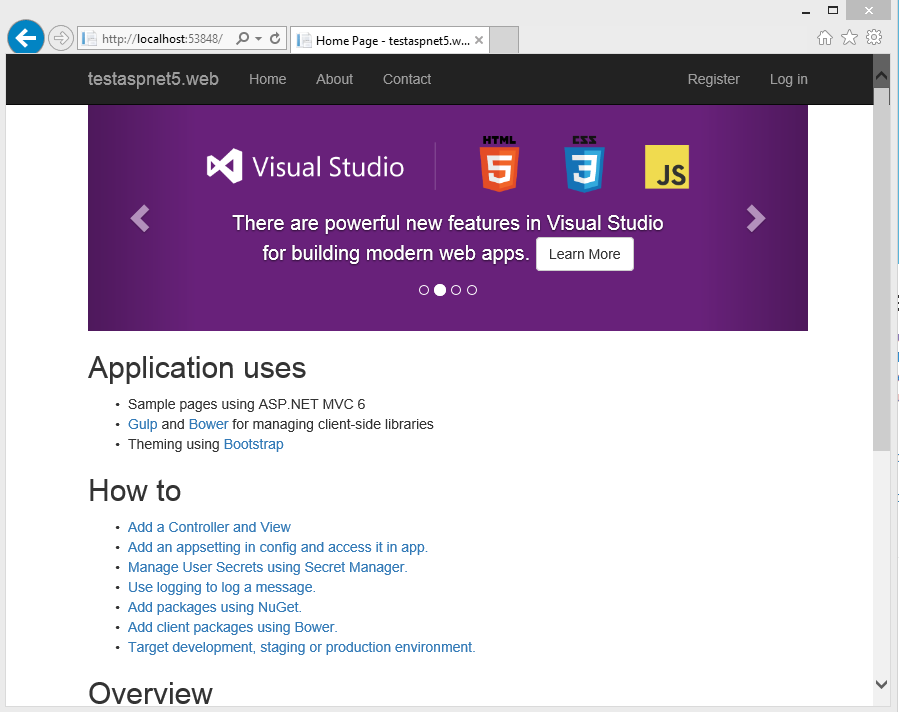
- Compile and start the application to check if it works locally.
- To deploy the application in Predix, modify the
project.jsonfile. First, include theMicrosoft.AspNet.Server.Kestreldependency and thekestrelcommand. Then, make sure your application targets thednxcode50framework. These changes help Predix to choose the correct buildpack for the application. Theproject.jsonfile should look as shown below.12345678910111213"dependencies": {..."Microsoft.AspNet.Server.Kestrel": "1.0.0-beta8",},"commands": {..."kestrel": "Microsoft.AspNet.Hosting --server Microsoft.AspNet.Server.Kestrel"},"frameworks": {"dnxcore50": { }}... - Compile and start the application again to check if the configuration is valid.
Deploying the application to Predix
After finishing the necessary preparations, you can deploy the application to Predix. With the Cloud Foundry CLI installed, go through these steps:
- Open
cmd.exeand change to your ASP.NET directory: - Log in to your Predix account. 1cf login -a <API endpoint> -u <your predix email> -o <your predix organization> -s <your predix space>
where:
-asets the API endpoint, which can be found in the welcome e-mail that you get during registration for a Predix.io user account.-usets the username.-osets the organization.-ssets the space.
You will be also asked for your password—the one you chose during registration.
After logging in, push the application.
1cf push eugeneaspnet5 -b https://github.com/cloudfoundry-community/asp.net5-buildpack.gitThe
cf pushcommand has two parameters:- the Predix application name (required)
- the Cloud Foundry buildpack set in the
-bflag (optional)
We would recommend to define the buildpack parameter either as a command option or in the
manifest.ymlfile.
1 | cd <folder where project.json is located> |
The result of the cf push command will look as shown below.
1 2 3 4 5 6 7 8 9 10 11 12 13 14 15 16 17 | 0 of 1 instances running, 1 starting 1 of 1 instances running App started OK App eugeneaspnet5 was started using this command `dnx --project . kestrel --server.urls http://0.0.0.0:${PORT}` Showing health and status for app eugeneaspnet5 in org predix.app.dojo@altoros.com / space dev.net as predix.app.dojo@altoros.com... OK requested state: started instances: 1/1 usage: 1G x 1 instances urls: eugeneaspnet5.run.aws-usw02-pr.ice.predix.io last uploaded: Tue Mar 29 13:39:33 UTC 2016 stack: cflinuxfs2 buildpack: https://github.com/cloudfoundry-community/asp.net5-buildpack.git state since cpu memory disk running 2016-03-29 04:41:17 PM 0.0% 371.1M of 1G 666.4M of 1G |
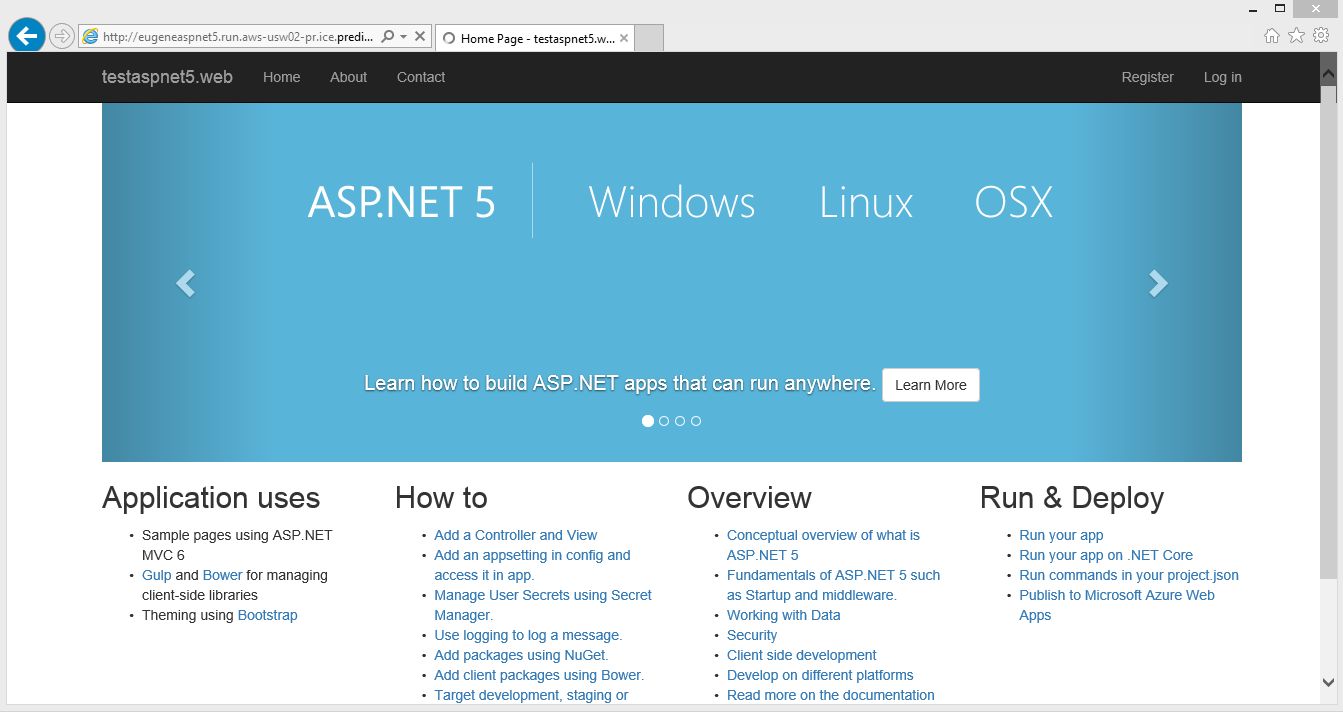
Now, you can see the result in the browser.

Creating the droplet and uploading it to Predix is quite easy and doesn’t require any special settings, except the preparations in the Predix console. In our future articles, we are going to show how to work with different services from our sample Predix application.
Further reading
- How to Get Started with ASP.NET and WebSocket on GE Predix
- Using the PostgreSQL Service from an ASP.NET App on GE’s Predix
- How to Get Started with ASP.NET and WebSocket on GE Predix
and edited by Alex Khizhniak.


