Using Predix Mobile Services to Create a Cross-Platform App
This tutorial introduces developers to mobile services available on GE’s Predix platform. The scenario for the article includes preparing a simple cross-platform application based on the Cordova technology, as well as interacting with Predix Mobile services. We also want to see if there are any restrictions for using Predix Mobile services in a hybrid application.
Prerequisites

To follow our examples, you need:
- Node.js
- the Cordova CLI
- the Cloud Foundry CLI
- the Cloud Foundry UAA CLI
- the Predix Mobile CLI
You can find more information in the official Predix docs.
Preparation
After you install Cordova, create a project and add platforms you want to test. We used AngularJS to write a sample JavaScript application.
In our case, it is not necessary to deploy the application to Predix: the application will be located on a mobile device. For sure, you can deploy your application to the PaaS and use it via a browser.
At the same time, you need to take care of Predix Mobile services that your application will communicate with. So, we will focus on how to prepare Predix to serve your application requests.
The implementation of the JavaScript code for using Predix Mobile services is the same as you need in a RESTful application. You need to make POST or GET requests. Find the sample code in this GitHub repo.
Using Predix Mobile services
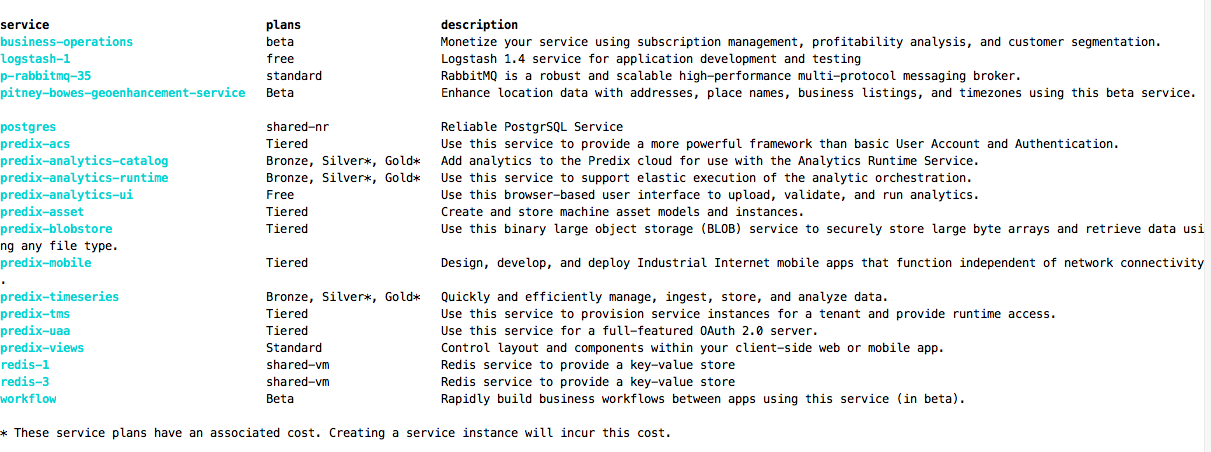
To make a valid request and get data from Predix services, you need to create a service instance and then bind it to your application. To show what services are available for your application, run the following command.
cf marketplaceAs a result, you will get a list similar to the one displayed on the screenshot below.
With the cf create-service service_name plan my_instance command, create a service instance for your application.
cf create-service log-stash-1 free myapp-log-serviceThe next step is to bind the new service to your application using the cf bind-service your_app_name service_instance_name command.
cf bind-service testhw myapp-log-serviceTo update your environment and put the changes into effect, run the following command.
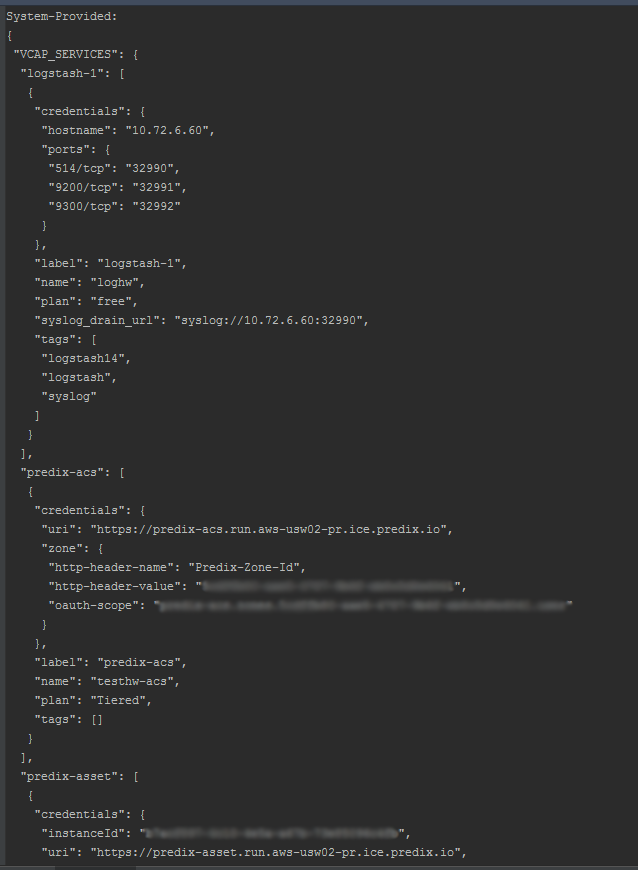
cf restage app_nameUse the command bellow to show your configuration information about the included services.
cf env app_nameFor example, the VCAP_SERVICES environment variable is shown on the image below.
The next step is to set up access to the Predix services for making your requests.
Accessing Predix services
For this step, we use Predix tutorials as a guideline. You can find the details in this tutorial (“Exploring Application Security: Create a Predix Service and set up a UAA ClientId”). Here is the section that you need.
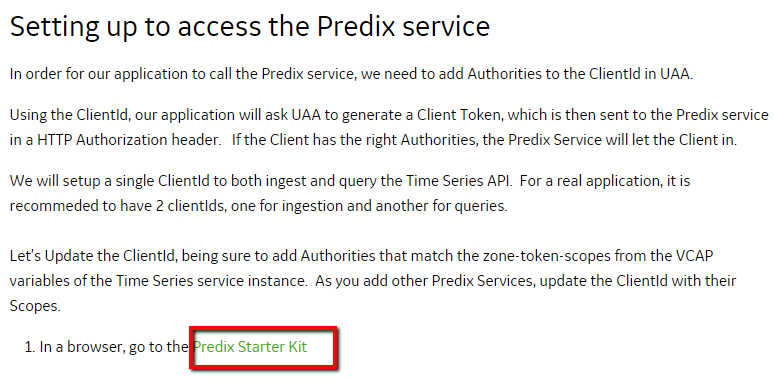
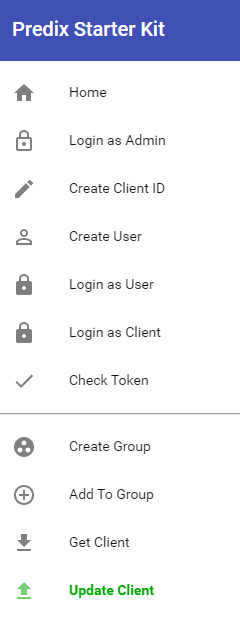
Our goal is to consecutively execute tasks from the menu below.
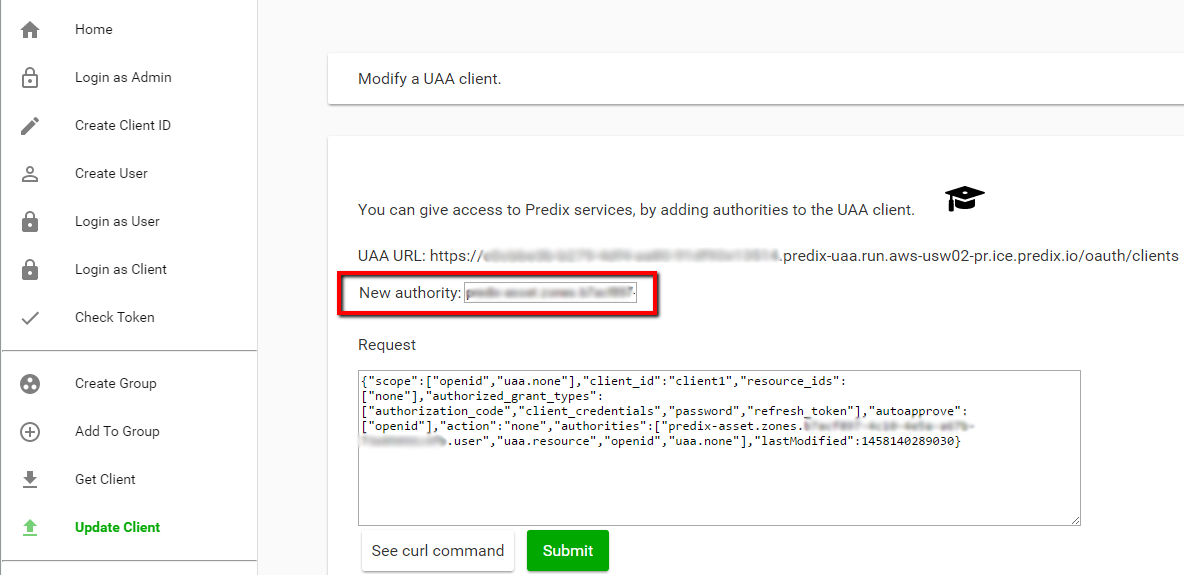
We’ll try to explain why this is necessary. Working with Predix Starter Kit, you create users who have access to the services you bind to an application. In the Update Client menu, you paste authority-token to add new authorities for accessing Predix services to your client.
Without this manipulation, a user can’t get data from the service even with a valid token. You can input a queue of tokens for several services. Mark them with quotes and separate with spaces.
Now, you are ready to do a request to fill an asset. Use the Predix form to make a test request.
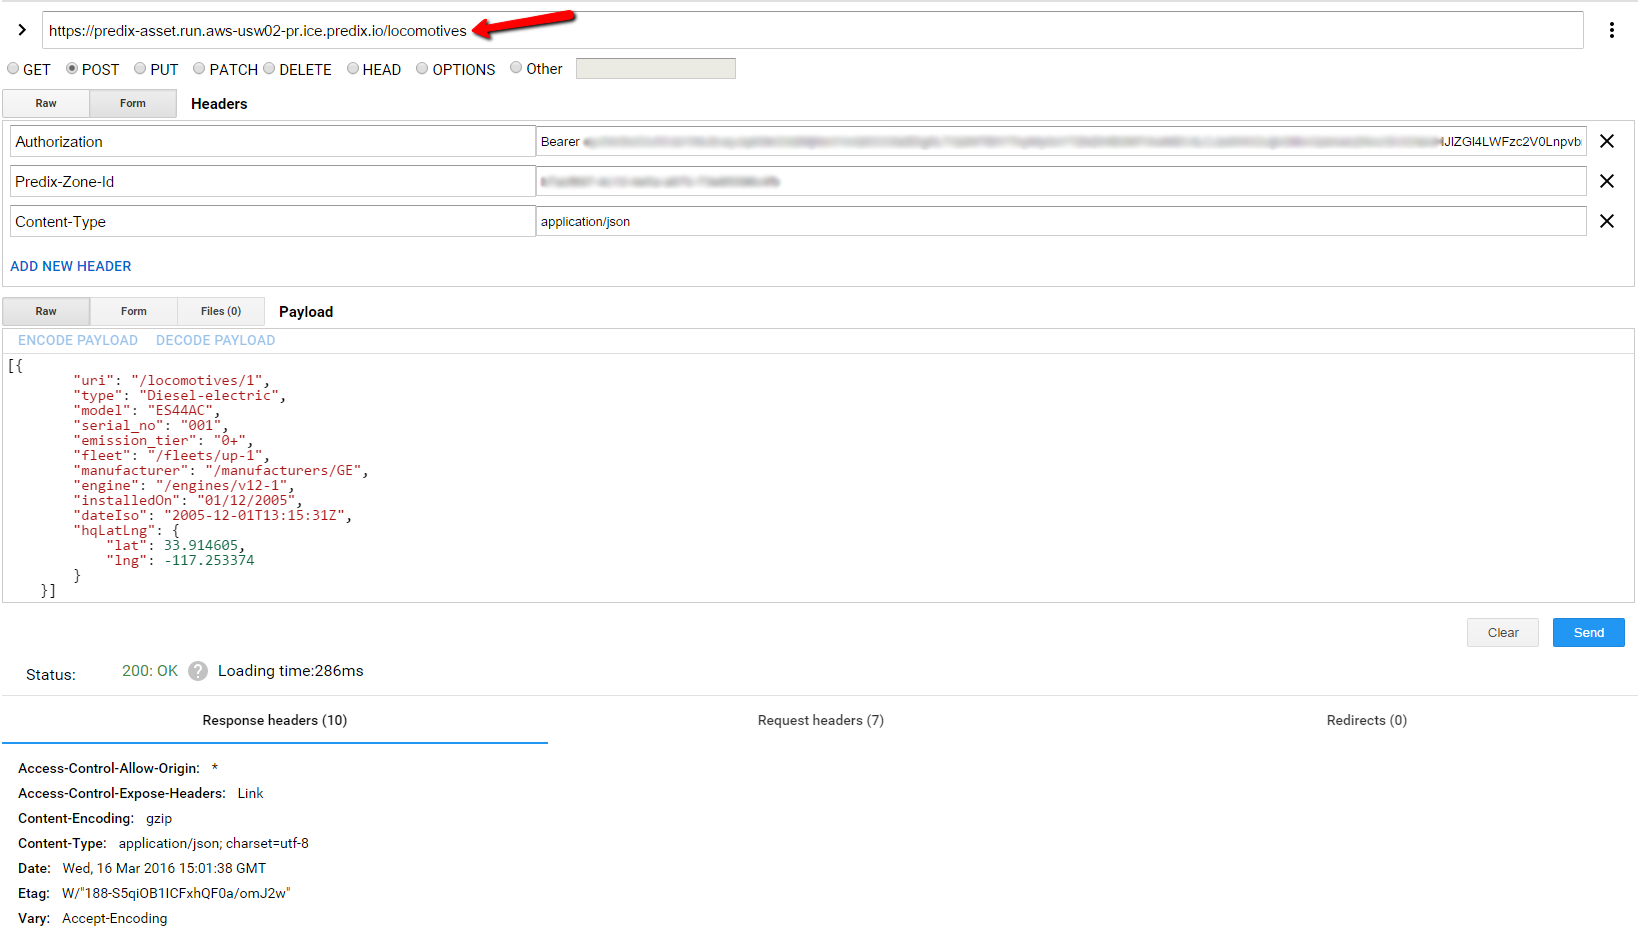
The sample Predix documentation has a mistake: the locomotive endpoint in the URL should be plural—locomotives.
Note: The body of the POST request should be wrapped in square brackets.
We didn’t find any obstacles for creating cross-platform applications using Predix Mobile services during our experiment. However, when working with Predix, you do need to care about managing Predix services and binding them to your application.
Further reading
- Deploying an ASP.NET Application to GE Predix
- Predix GA: GE Is Working on Security, Mobile Services, and Automating Ops


