Connecting and Pushing a .NET App on Pivotal Cloud Foundry


Release 1.6 of Pivotal CF, a Cloud Foundry distro by Pivotal, introduced native support for .NET apps. Within the same cluster, one can now combine Windows- and Linux-based software. Working with .NET on Pivotal CF still requires a bit of additional hoop-jumping, but this tutorial series will get you pushing apps and adding services in no time.
Prerequisites
Before starting, make sure you have all the necessary prerequisites in place:
- First of all, get credentials for the PCF instance. In my case, we simply need to ask our CF administrator for them (thanks, Boris!). If you are using a public Pivotal CF, the credentials are provided during registration. Our initial set of input data looks like shown below.
- We will also need the PCF Command Line Interface tool. Download, unzip, and install the file
cf-cli-installer_6.14.0_winx64.zipto run CF commands in PowerShell. If you are using a public PCF instance, you can get the link to the zip file from the Tools page of the Apps Manager (more details can be found in the official documentation). - Now we can start playing with PCF. Begin by registering the API endpoint.
- Then, log in to the Pivotal CF instance.
- PCF provides .NET application support under Diego, so we also need to check if the Diego CLI plugin is installed. Run
cf pluginsto list all the installed plugins and all the commands they provide.
1 2 3 4 5 | PCF API URL: api.YOUR_DOMAIN Organization name: Altoros Space: dev Username: {UserName} Password: {Password} |
1 | cf api api.YOUR_DOMAIN --skip-ssl-validation |
1 | cf login -u {UserName} -p {Password} |
1 | cf plugins |
If Diego CLI is not on the list, install it from GitHub.
1 2 3 | cf add-plugin-repo CF-Community http://plugins.cloudfoundry.org/ cf install-plugin Diego-Enabler -r CF-Community |
Preparing an app
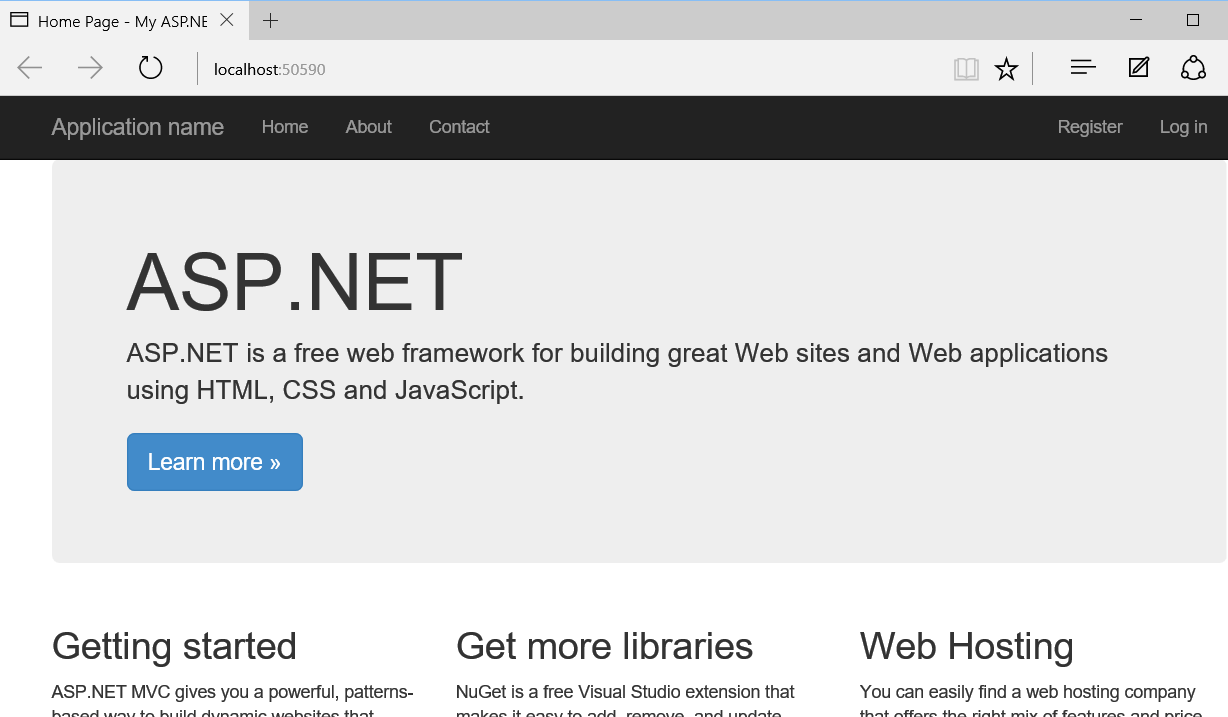
Now let’s prepare a simple ASP.NET MVC test app to publish on our PaaS. In this example, we will use a standard MVC sample app for .NET Framework 4.5.
- Compile and start the app, so that it works locally.
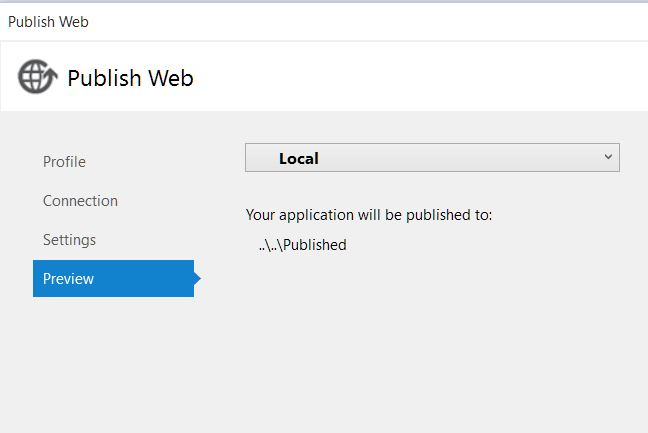
- Publish the project to the local file system, using default settings and
....\Publishedas the target path. - The sample app is ready. Now, you can go to this target directory in the Windows PowerShell console and push the app into the Pivotal CF instance.


Pushing a .NET app to PCF
Publishing .NET apps is a bit different from publishing regular Linux apps. There are a couple of things to keep in mind:
- Since we are pushing an APS.NET application to the Windows stack, which is not the default one for Pivotal CF, we have to specify its name. To see the stack name, check the list of available stacks. 1cf stacks
Our target stack name is
windows2012R2. - The
startcommand must be set tonone, so that you can enable Diego for the application before it is started. - We also need to set a null buildpack for the application, because existing buildpacks are not suitable for our purposes. We used a buildpack from this GitHub repository.
Finally, everything is ready. The actual publishing only takes three steps:
- Start pushing the app with the final version of the
pushcommand, which now looks like shown below. - Enable Diego for the app.
- Start the app.
1 | cf push SampleWebApp -p .\ -s windows2012R2 --no-start -b https://github.com/ryandotsmith/null-buildpack.git |
1 | cf enable-diego samplewebapp |
1 | cf start samplewebapp |
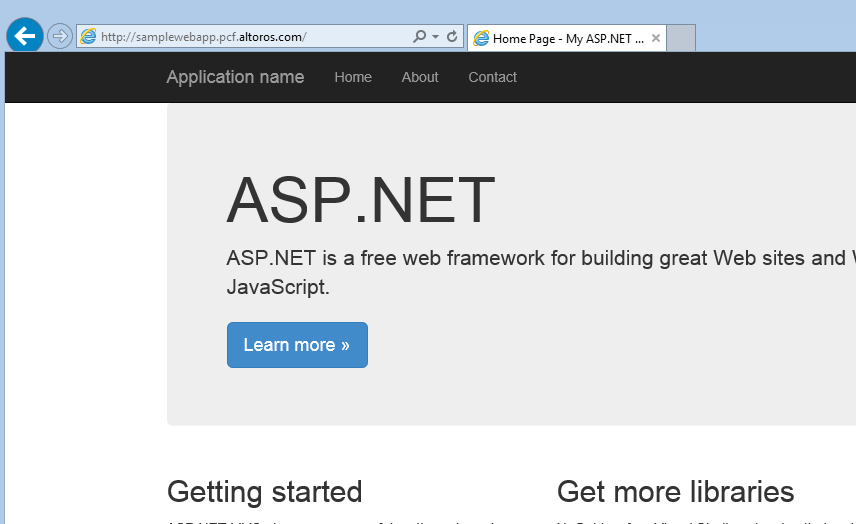
In a few seconds, the app instance is up and running.

In the upcoming posts, we will play with different MVC versions of sample apps and add distributed services, such as MS SQL.
Further reading
- .NET on Pivotal CF: Adding a MS SQL Service to an App
- How to Set Up a Cloud Foundry Infrastructure for .NET Apps in Minutes


