How to Get Started with ASP.NET and WebSocket on GE Predix

Our previous article focused on deploying a simple ASP.NET app to Predix. From this post, learn about deploying an ASP.NET Core 1.0 application that employs the WebSocket protocol.
Prerequisites
To follow the steps of this tutorial, you need:
- A Predix account
- Microsoft Visual Studio 2015
- Microsoft .NET Core 1.0
- The Cloud Foundry CLI
Preparing the application for Predix
The initial plan was to create an ASP.NET application with SignalR and then deploy it to Predix. Unfortunately, SignalR is not included in the ASP.NET Core 1.0.0 version, so we used the native WebSocket support instead—Microsoft.AspNetCore.WebSockets.Server.
To implement your ASP.NET application and make it ready for deployment to Predix:
- Go to Microsoft Visual Studio 2015 and create a new project using a standard ASP.NET 5 template.
- Compile and start the application to check if it works locally.
- Prepare the back-end part using the
Startup.csfile:public void Configure(IApplicationBuilder app) { app.UseDeveloperExceptionPage(); app.UseDefaultFiles(); app.UseStaticFiles(); app.UseWebSockets(); app.Use(async (http, next) => { if (http.WebSockets.IsWebSocketRequest) { var webSocket = await http.WebSockets.AcceptWebSocketAsync(); while (webSocket.State == WebSocketState.Open) { var token = CancellationToken.None; var buffer = new ArraySegment<byte>(new byte[4096]); var received = await webSocket.ReceiveAsync(buffer, token); switch (received.MessageType) { case WebSocketMessageType.Text: var request = Encoding.UTF8.GetString(buffer.Array, buffer.Offset, buffer.Count); var type = WebSocketMessageType.Text; var data = Encoding.UTF8.GetBytes(string.Format("Server: {0}", request)); buffer = new ArraySegment<byte>(data); await webSocket.SendAsync(buffer, type, true, token); break; } } } else { await next(); } }); } - Add MVC support:
public void Configure(IApplicationBuilder app) { ... app.UseMvc(routes => { routes.MapRoute( name: "default", template: "{controller=Home}/{action=Index}/{id?}"); }); } } public void ConfigureServices(IServiceCollection services) { services.AddMvc(); } - Additionally, create a simple controller:
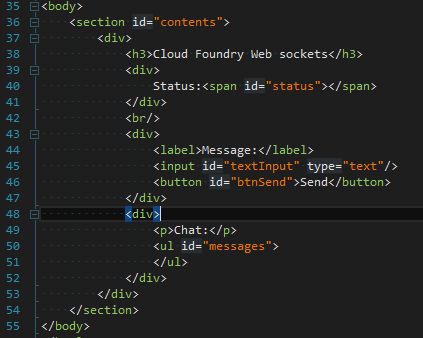
public class HomeController : Controller { public IActionResult Index() { return new EmptyResult(); } } - Prepare the front-end part:
<script type="text/javascript">
    var webSocket;
    $(document).ready(function () {
        webSocket = new WebSocket('wss://<predix URL>/Home/Index');
        webSocket.onopen = function () {
            $('#status').text('connected');
        };
        webSocket.onmessage = function (evt) {
            $('#messages').append('<li>' + evt.data + '</li>');
        };
        webSocket.onerror = function (evt) {
            alert(evt.message);
        };
        webSocket.onclose = function () {
            $('#status').text('disconnected');
        };
        $('#btnSend').click(function () {
            if (webSocket.readyState == WebSocket.OPEN) {
                webSocket.send($('#textInput').val());
            }
            else {
                $('#status').text('Connection is closed');
            }
        });
    });
</script>
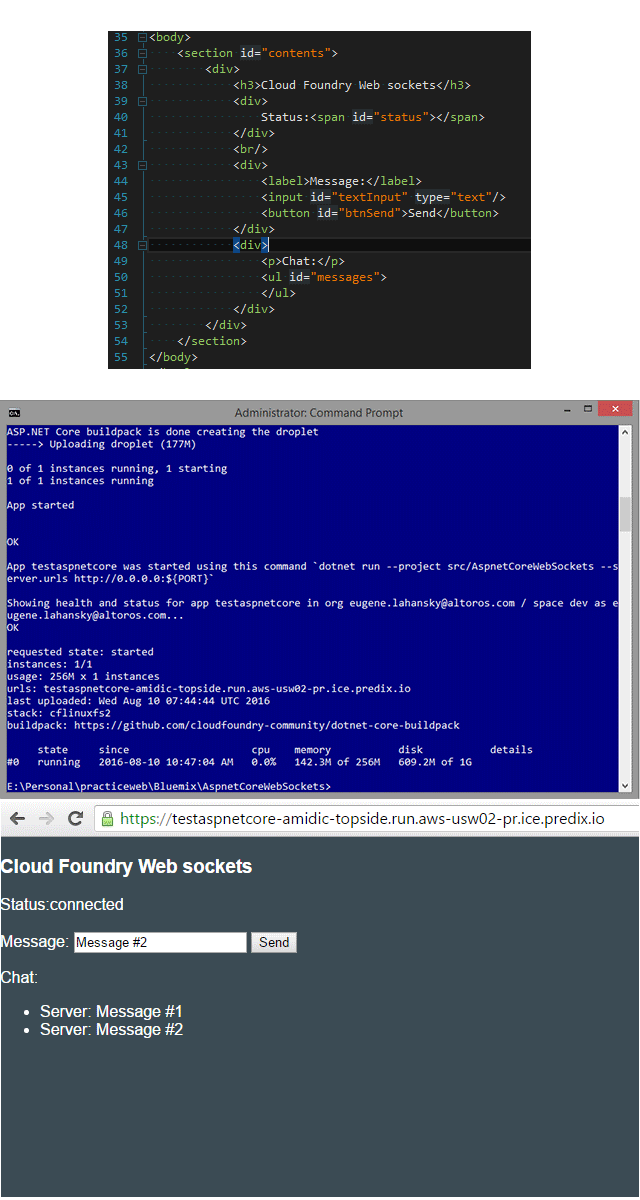
Here is how the form looks like:
- Before deploying the application in Predix, modify the
project.jsonfile:- Include the
Microsoft.AspNet.Server.Kestreldependency and thekestrelcommand. - Make sure your application targets the
dnxcode50framework.
These changes help Predix to select the correct buildpack for the application. Here is how the
project.jsonfile should look like:"dependencies": { "Microsoft.NETCore.App": { "version": "1.0.0", "type": "platform" }, ... }, "frameworks": { "netcoreapp1.0": { "imports": [ "dotnet5.6", "portable-net45+win8" ] } }, ... - Include the
Deploying the application to Predix
After finishing the necessary preparations, you can deploy the application to Predix.
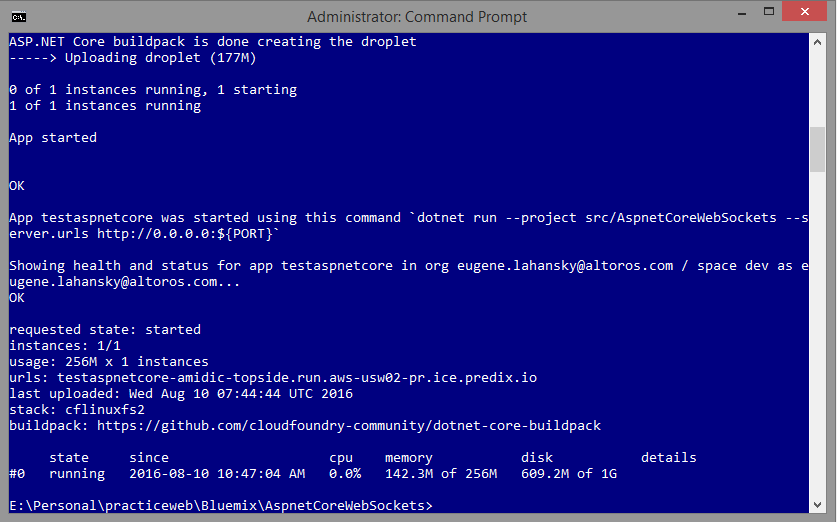
With the Cloud Foundry command line interface installed, go through these steps:
Open
cmd.exeand change to your ASP.NET directory:1cd <folder where project.json is located>Log in to your Predix account:
1cf login -a <API endpoint> -u <your predix email> -o <your predix organization> -s <your predix space>After logging in, push the application:
1cf push testaspnetcore -b https://github.com/cloudfoundry-community/dotnet-core-buildpack
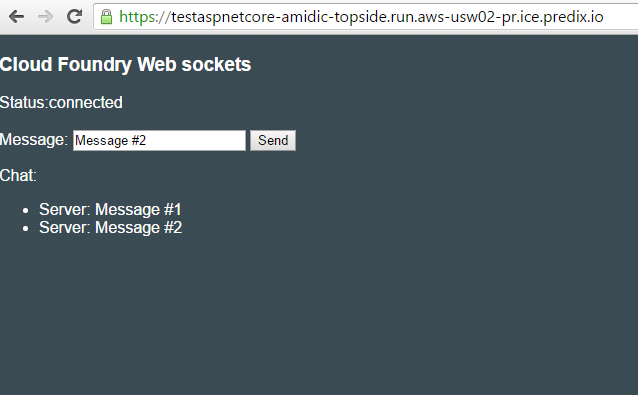
Now, you can see the result in the browser.
The source code for the tutorial is available on GitHub.
Conclusion
At the moment, SignalR is not yet supported in .NET Core 1.0. The good news is that the native WebSocket implementation—Microsoft.AspNetCore.WebSockets.Server—works perfectly on .NET Core 1.0, and no additional steps are required for running applications that use the WebSocket protocol on Predix.
Related reading
- Deploying an ASP.NET Application to GE Predix
- Using the PostgreSQL Service in an ASP.NET App on GE Predix


